Windows Server 安裝 MySQL Community 免費社群版
今天介紹如何在 Windows Server 2019 下載及安裝 MySQL 免費社群版
下載 MySQL Community Server
下載網址: MySQL Community Server
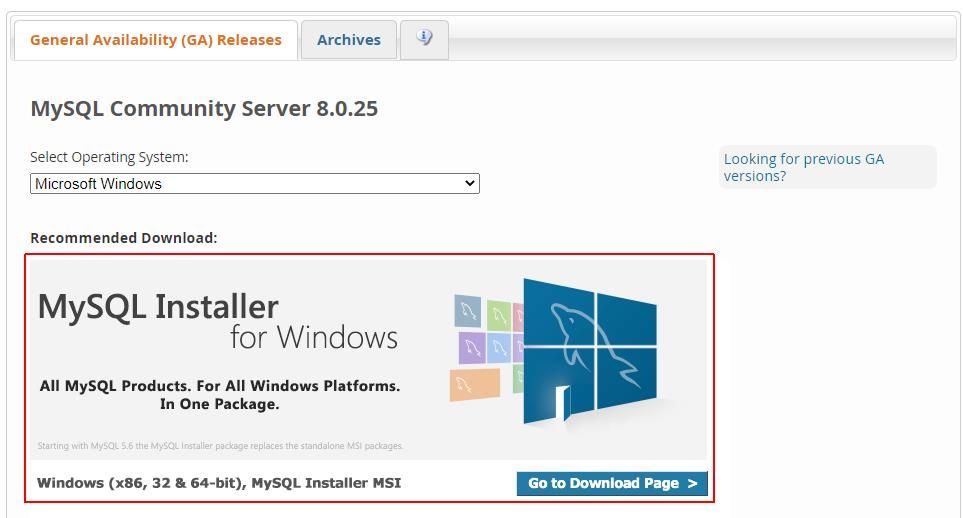
點擊「Windows (x86, 32 & 64-bit) MySQL Installer MSI」
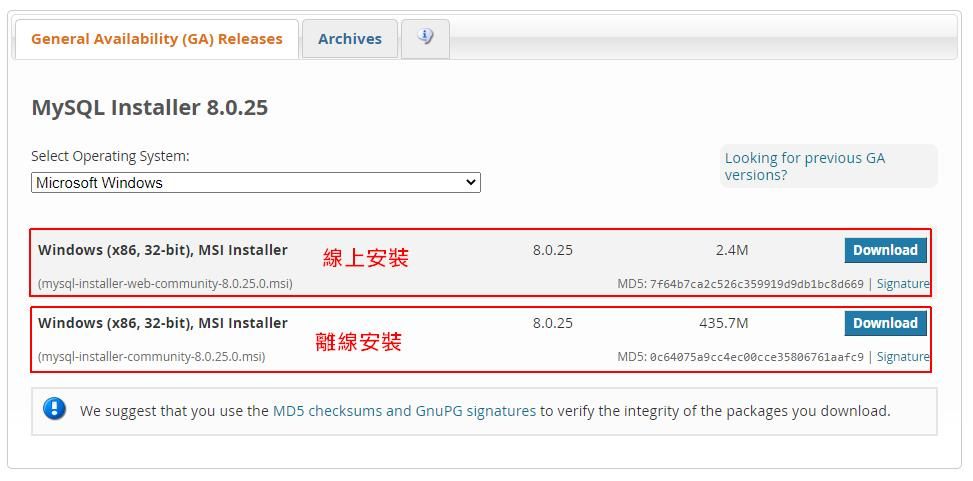
可選擇線上安裝(檔案小),或是完整下載離線安裝(檔案較大)
安裝 MySQL Community Server
選擇安裝類型
Developer: 開發用途,會安裝 MySQL Server 及 Workbench GUI 管理介面
Server only: 只安裝 MySQL Server
Client only: 會安裝 Workbench GUI 管理介面及發開工具及元件,不會安裝 Server
Full: 完整安裝
Custom: 自定安裝
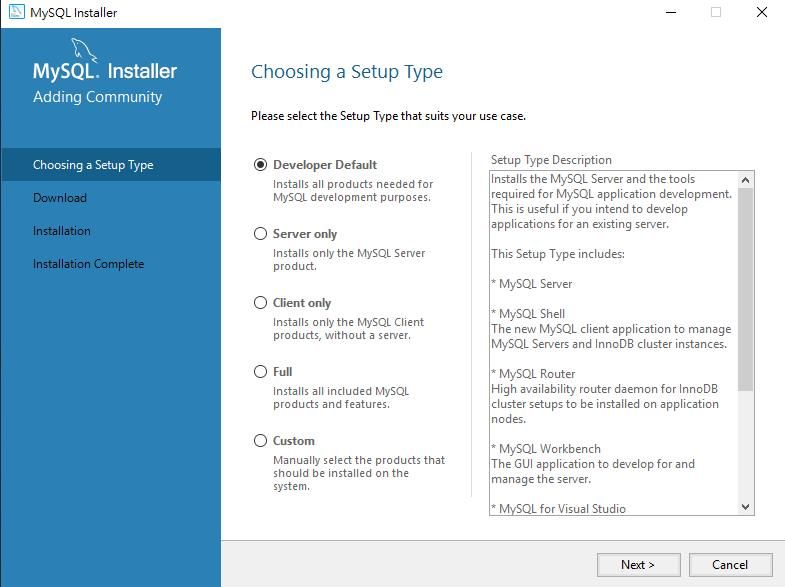
我選擇 Developer Default 安裝
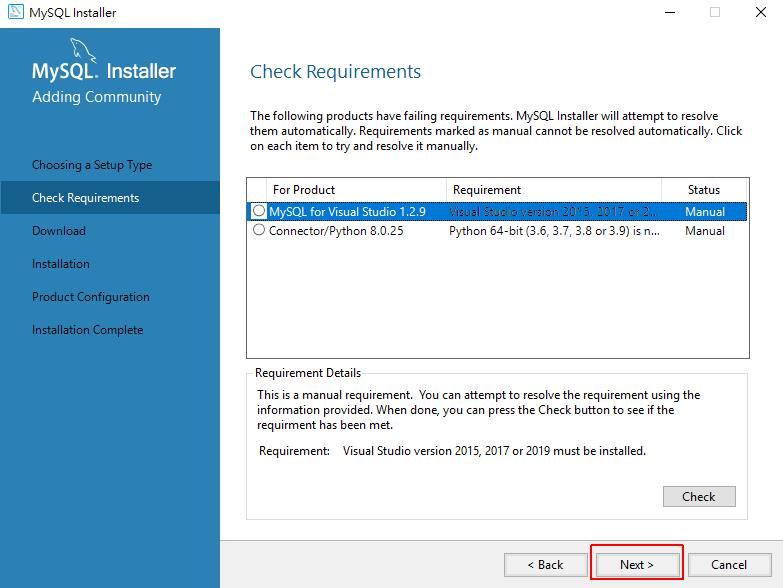
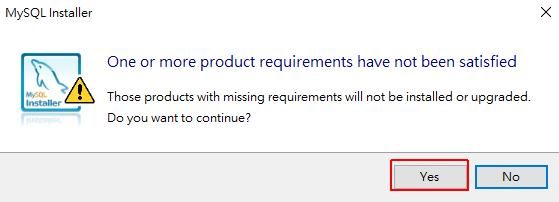
系統檢查缺少元件,如果有缺少元件會自動下載,點下一步。
點擊 Yes
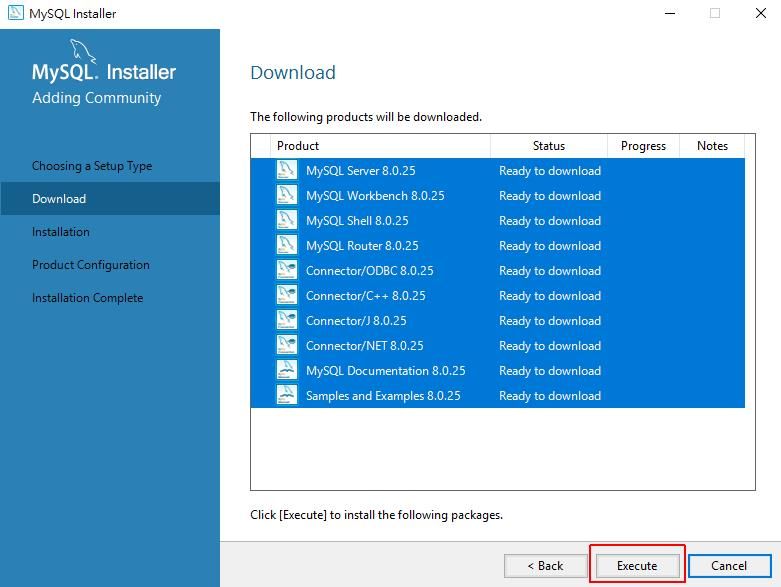
點擊 Execute 由系統下載及安裝元件
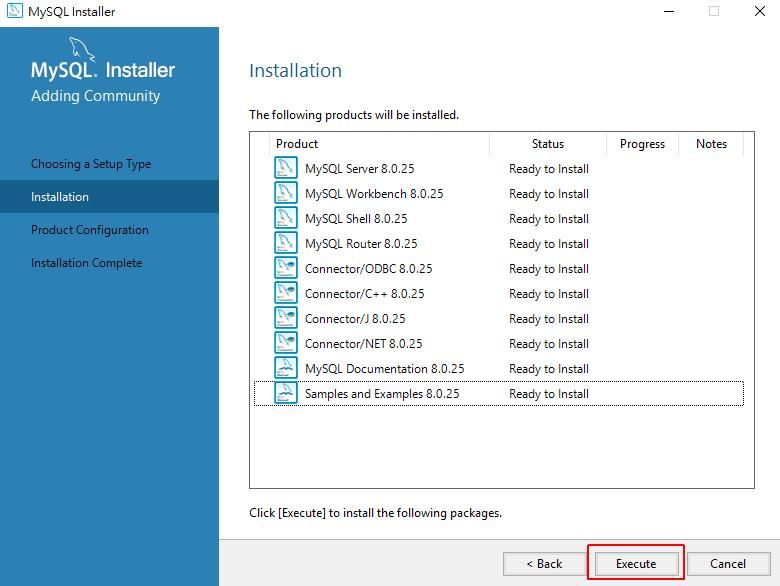
執行 Execute 安裝元件
安裝完成
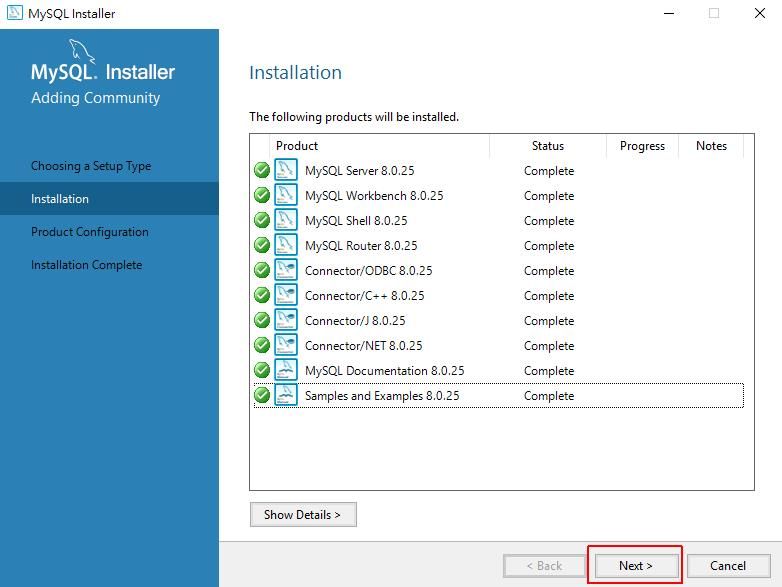
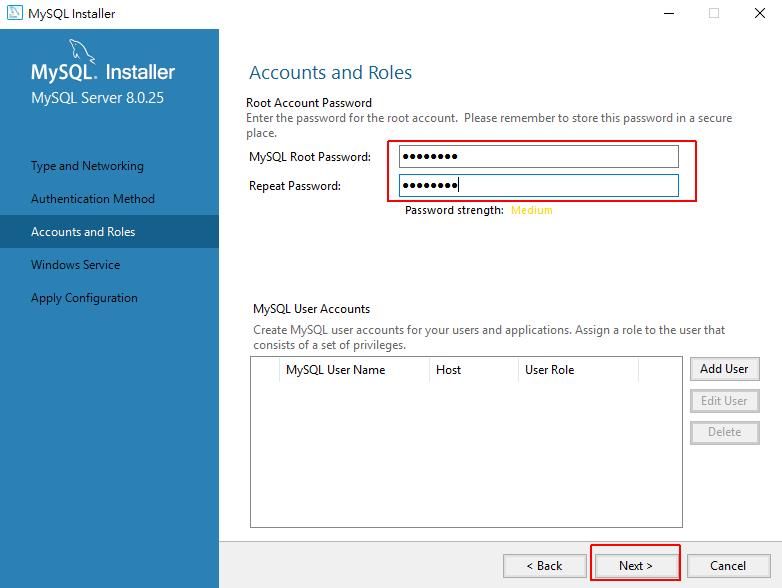
準備設定 Server
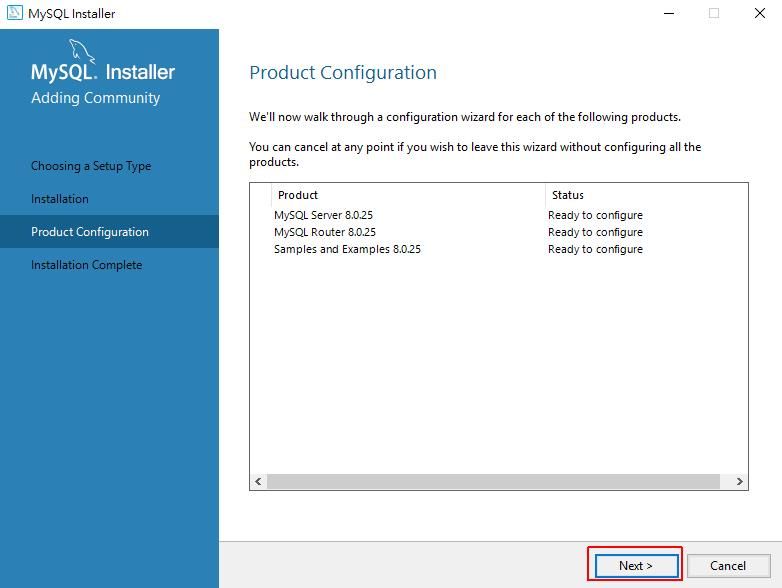
設定伺服器類型及網路連線。
Server Configuration Type
提供 3 種不同的設定檔,決定該分配多少系統資源給 MySQL Server。
Development Machine: 開發機。適合這台機器同時安裝其它程式,MySQL 將使用最少的記憶體。
Server Machine: 伺服器。適合這台機器上同時執行數個服務,Web / AP server 可以選擇這項,MySQL 將使用中等程度的記憶體。
Dedicated Machine: 資料庫專用伺服器。適合這台機器上只會執行 MySQL,而 MySQL 將使用所有可用的記憶體。
Connectivity
設定可以使用什麼方式連線到 MySQL。
TCP/IP: 使用 TCP/IP 協定連線,自訂要使用的 Port Number,[Open Firewall port for network access] 是否開放防火牆例外讓遠端電腦連線。
Named Pipe: 使用 named pipe 連線,自訂 pipe name。
Shared Memory: 使用 Shared Memory 連線,自訂 memory name。
Advanced Configuration
勾選 [Show Advanced and Logging Options] 稍後進行記錄檔設定。
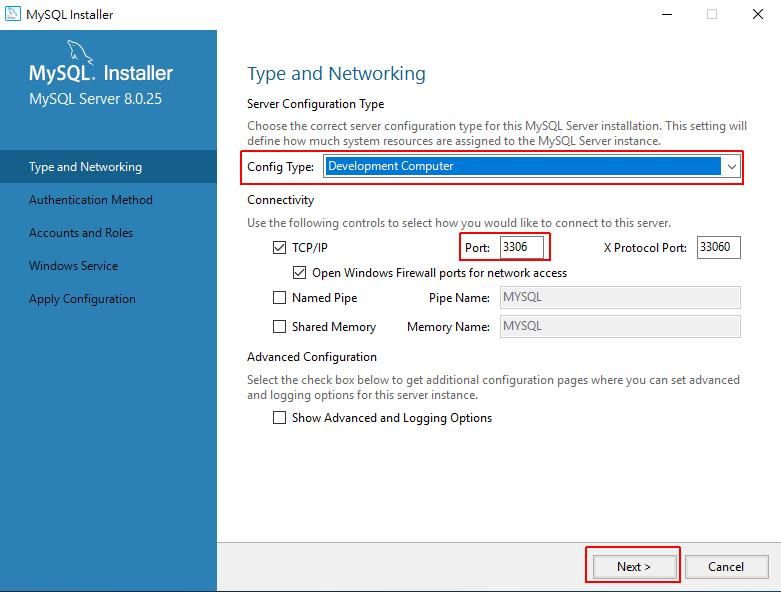
身份驗證方法
Use Strong Password Encryption for Authentication (RECOMMENDED)
使用強密碼加密進行身份驗證(建議)
Use Legacy Authentication Method (Retain MySQL 5.x Compatibility)
使用舊版身份驗證方法(保持mysql 5.x兼容性)
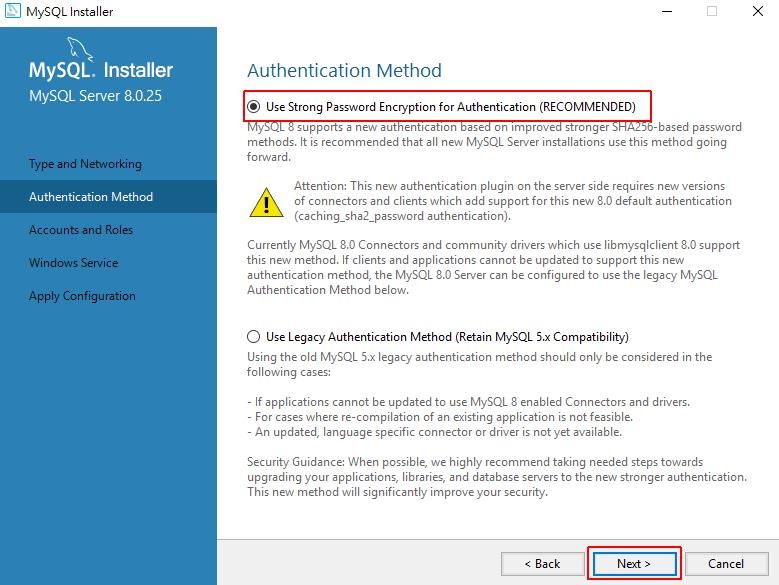
帳戶及角色設定
設定管理者密碼,帳號為 root,只要輸入密碼就好。
若想增加其他角色可在 MySQL User Accounts 加入新角色。
Windows 服務設定
勾選「Configure MySQL Server as a Windows Service」表示以服務方式啟動。
Windows Service Name: 服務名稱
Start the MySQL Server at System Startup: 開機自動執行 MySQL 服務。
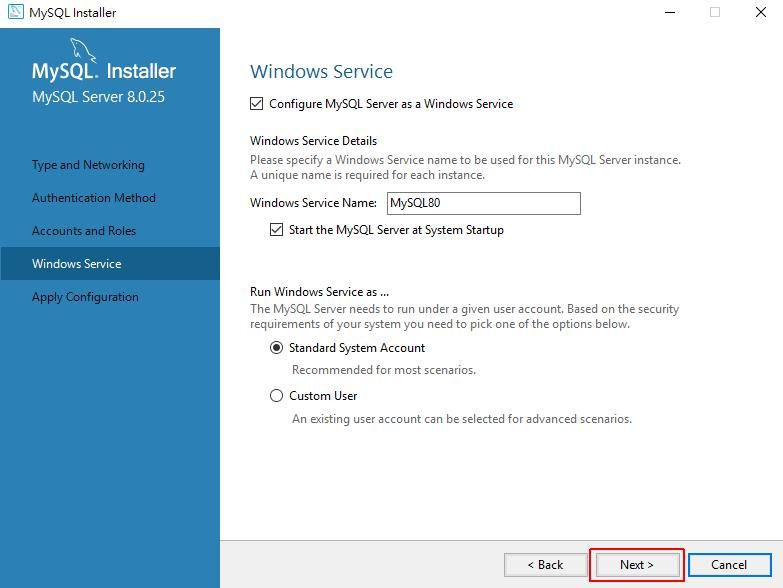
同意設定
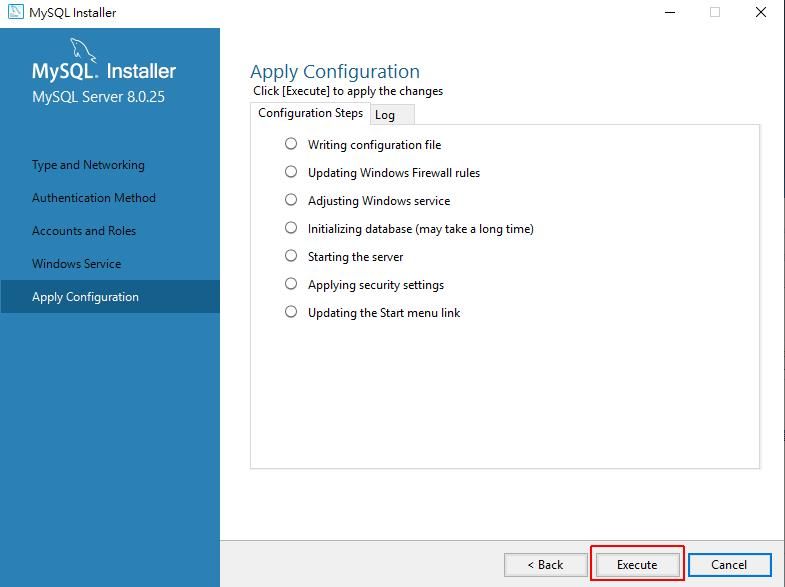
完成設定
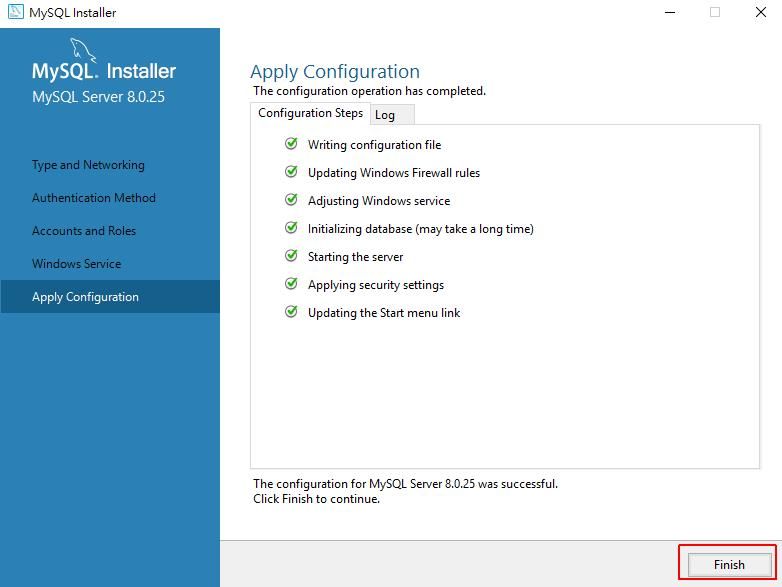
路由器配置
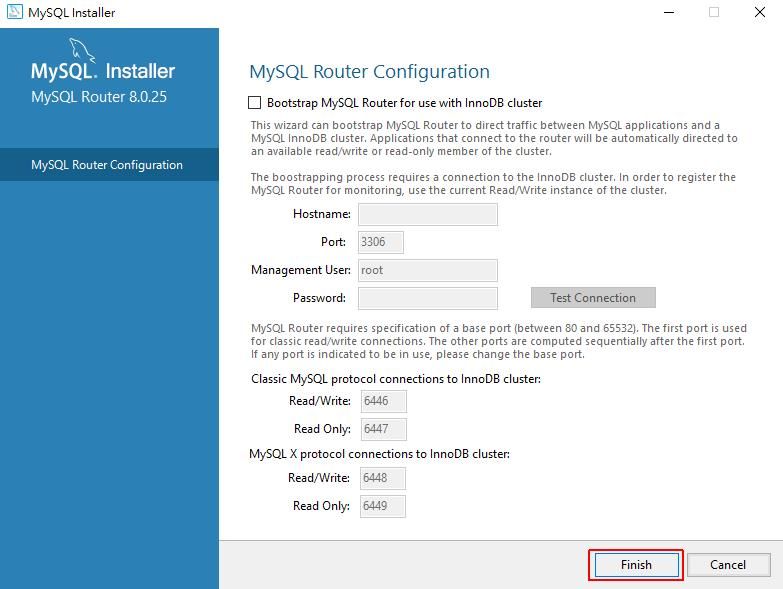
連線至伺服器
輸入密碼後,按「Check」檢核密碼
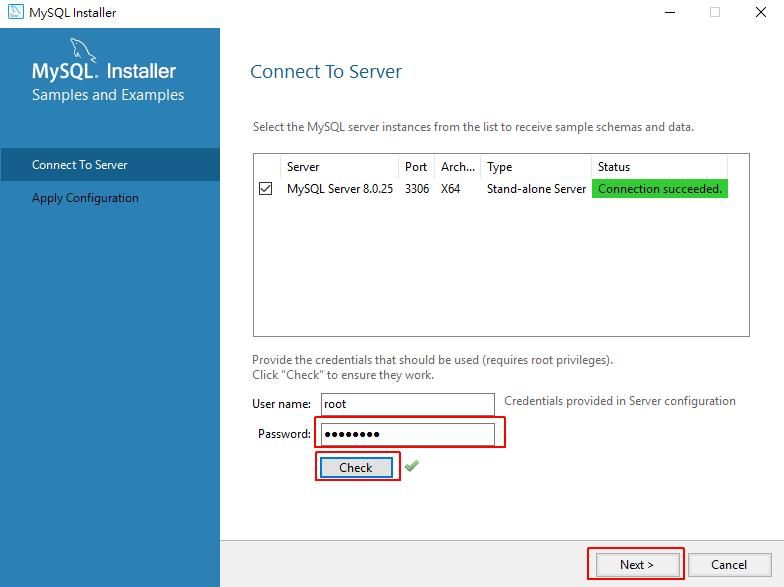
同意設定
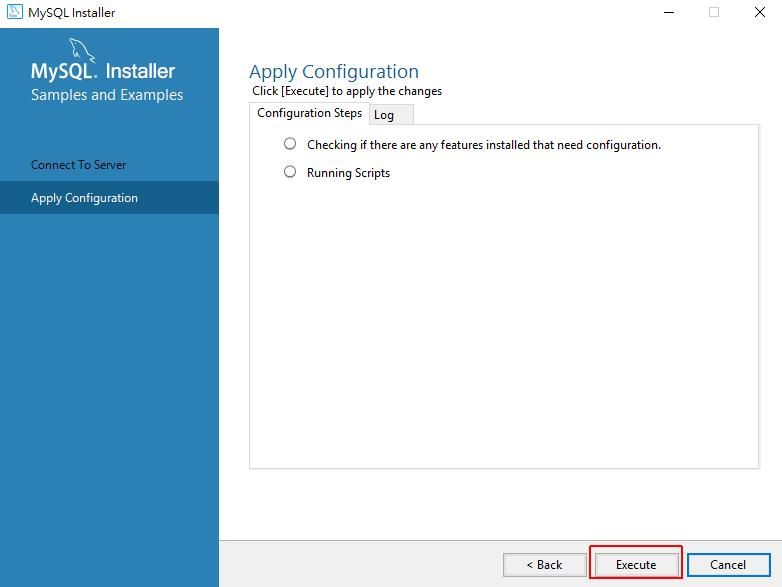
下一步
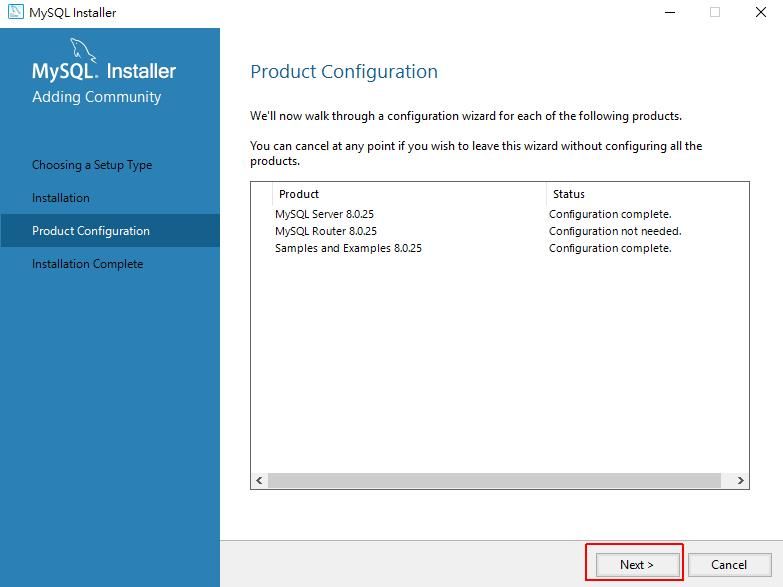
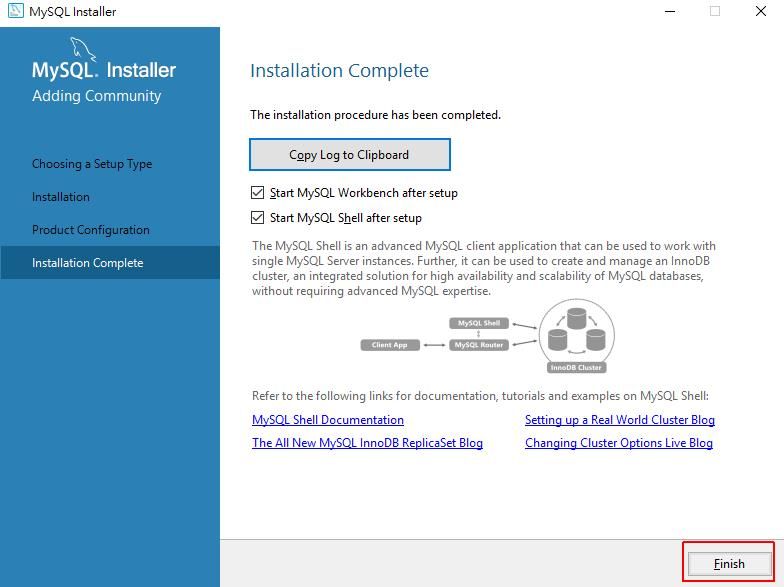
完成安裝
登入 MySQL Community Server
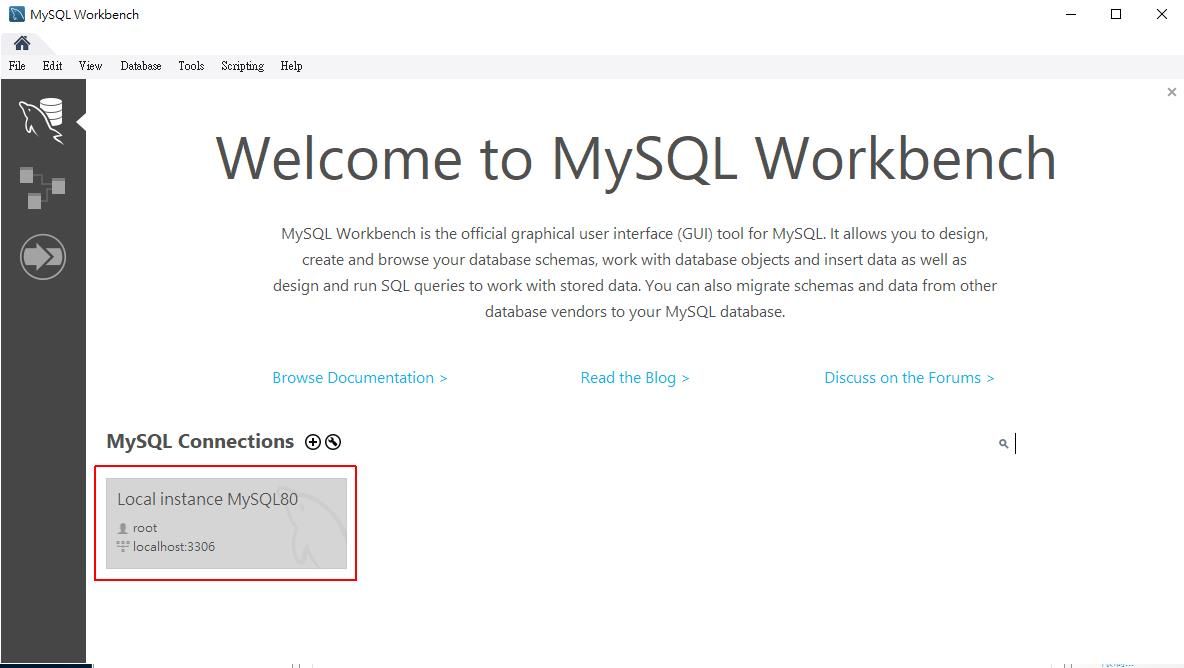
開啟 MySQL Workbench,此為 GUI 管理資料庫工具,點擊預設的 root 登入
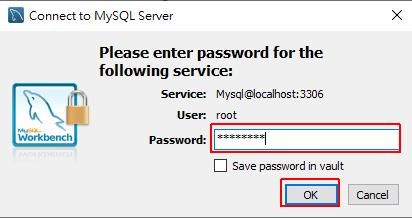
輸入管理者密碼
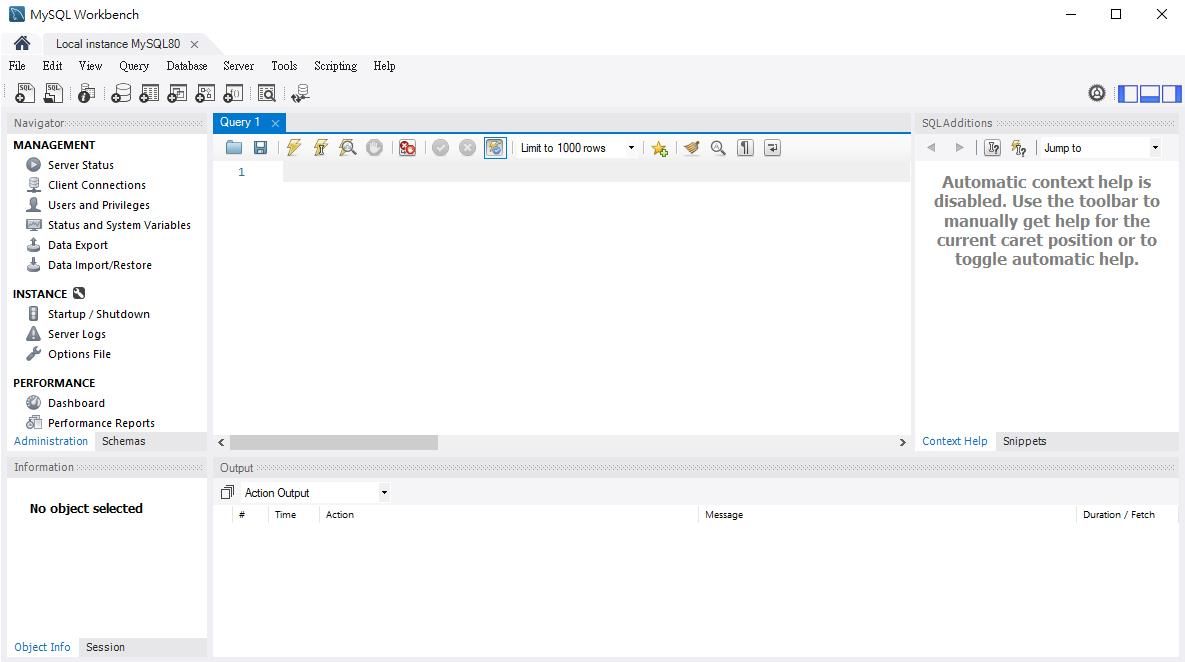
登入成功後即會顯示 MySQL 管理介面
重點整理
- 下載可選線上安裝或離線安裝
- 選擇 Developer Default 安裝適合多數環境
- MySQL 預設 Port 為 3306
- 管理者預設帳號為 root,自訂密碼就行
- 使用 MySQL Workbench 登入管理介面
相關學習文章
原始文章連結: https://blog.hungwin.com.tw/windows-server-mysql-community-install/
喜欢我的作品吗?别忘了给予支持与赞赏,让我知道在创作的路上有你陪伴,一起延续这份热忱!

- 来自作者
- 相关推荐