Desmos Network | DSM 空投開始領
11月25日是 Desmos 空投的大日子,由於發現程序有 bug 的關係,空投遲了開始,到晚上 10 時才出現 領取方法指示。如果你不知道甚麼是 Desmos Network 空投,請看這篇 Desmos Network | DSM 空投回饋跨鏈社群-詳全文。
現時領取空投有兩種方式:DPM 和 Go-find.me。前者創建 Desmos Profile 的 DSM 由他們團隊吸收你不用付錢,後者你需要付費,請先看清楚整篇文章及考慮好安全性和時間性再決定如何領取你的空投。此外我懷疑 Liker Land 是不能用 Go-find.me 去領空投的,留待有委託的朋友去證實。
什麼是 Desmos Profile?
Desmos 最終目標是使用最好協議方式構建開放和去中心化社交網絡,解決如何在去中化洪流中識別用戶的問題。2021 年 8 月 Desmos Profile 是 Desmos Network 主網上線後出現第一個功能。它代表你在所有區塊鏈生態系統(PoW 和 PoS)中的去中心化身份。
使用你的 Desmos 帳戶就可以創建一個 profile(包括暱稱、個人資料圖片、封面和簡介組成),並通過以完全分散和匿名(或更好地,假名)的方式驗證你對區塊鏈網絡的所有權並繼續連接其他鏈及社交網絡。
無論你是驗證人還是用戶,Desmos Profile 可改善互聯區塊鏈世界中的體驗,並且由於去中心化,每個人都將能夠擁有數碼與社交身份而無需提供任何敏感數據。
如何領取空投:DPM 版本(大神不建議)
要正確領取空投,你需要按照以下程序進行操作,在操作前請預備:
- 你的 Desmos Network 錢包 Secret Recovery Phrase 秘密恢復短語
- 你的 Keplr 錢包 Mnemonic Seed 私鑰,如果你的空投是因為 Osmosis 提供流動性而獲得。
下載 DPM
1. 打開你的手機瀏覽器,從此網址 https://dpm.desmos.network/ 點擊對應你智能手機平台(iOS 的 Testflight 或 Android 的 Google Play)的按鈕並下載 Desmos Profile Manager ( DPM ),在開始空投程序之前,請確認你經已下載 DPM 1.0.0 或更高版本。由於我沒有蘋果手穖,只可以用 Android 手機示範。
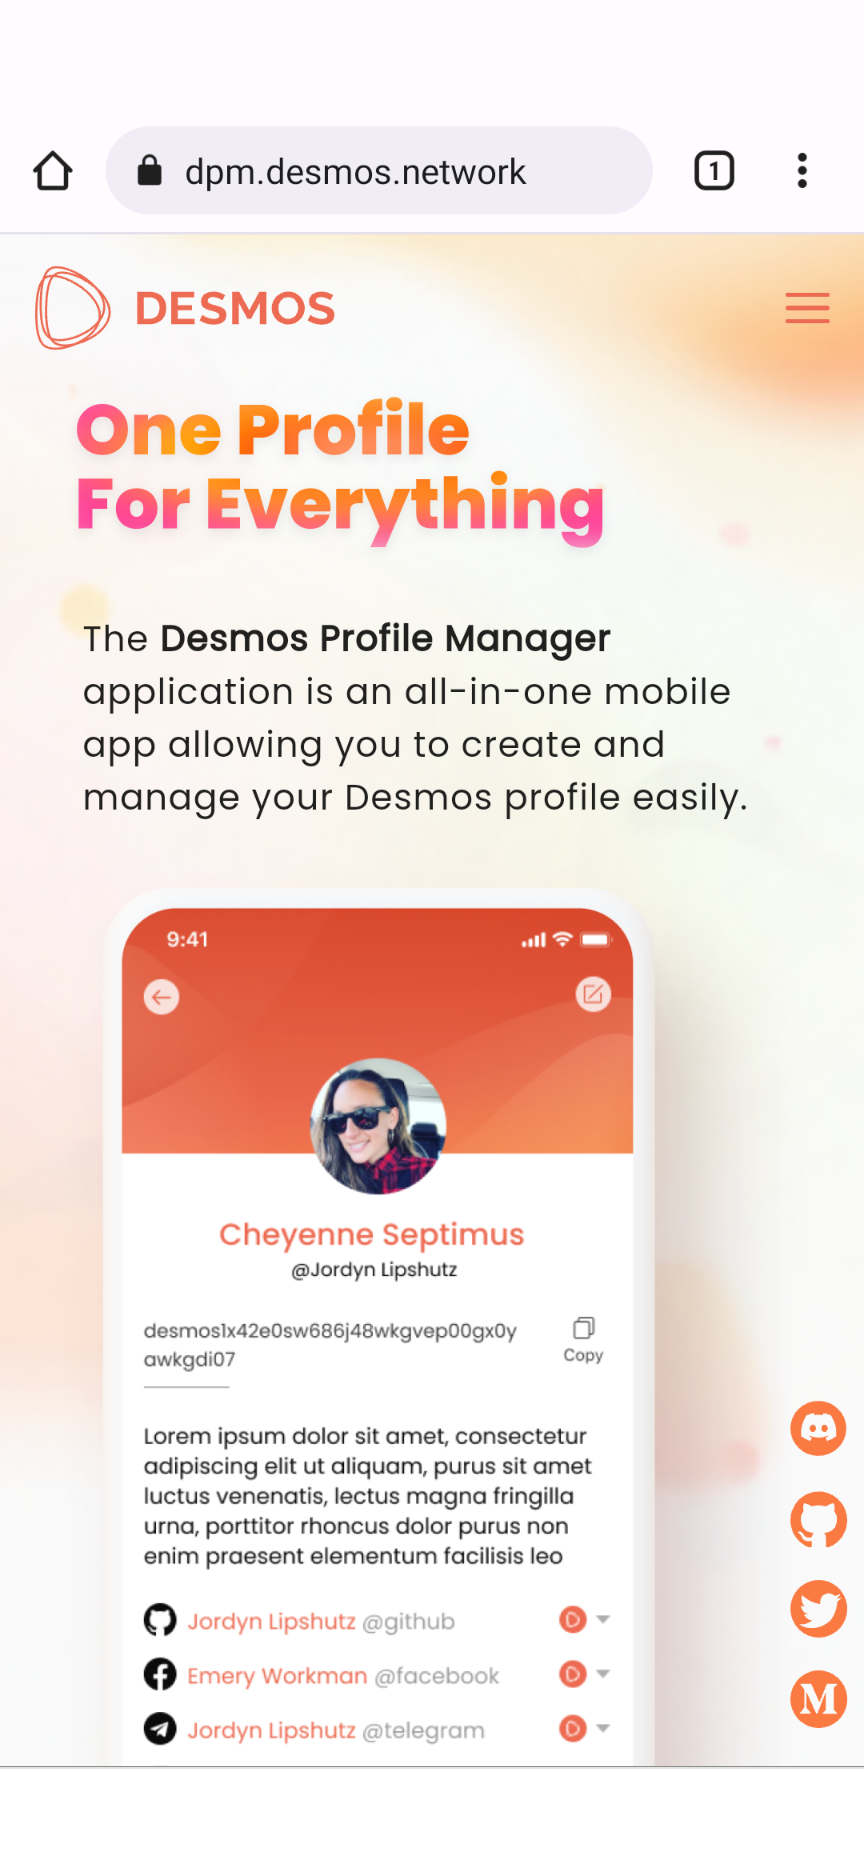
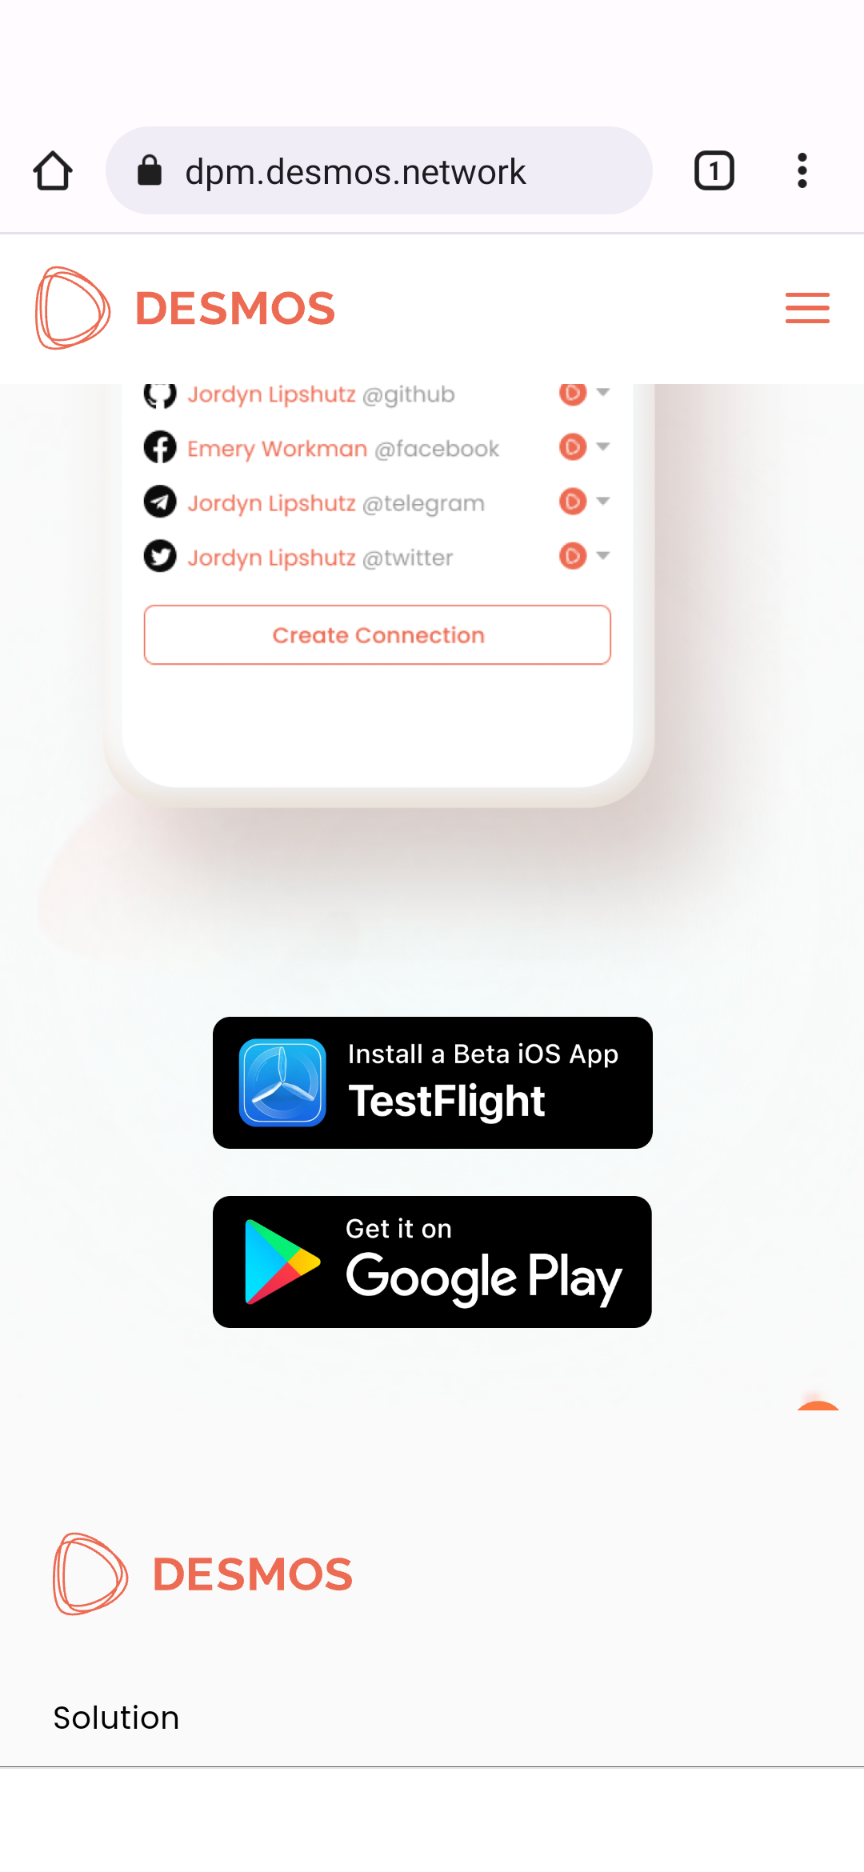
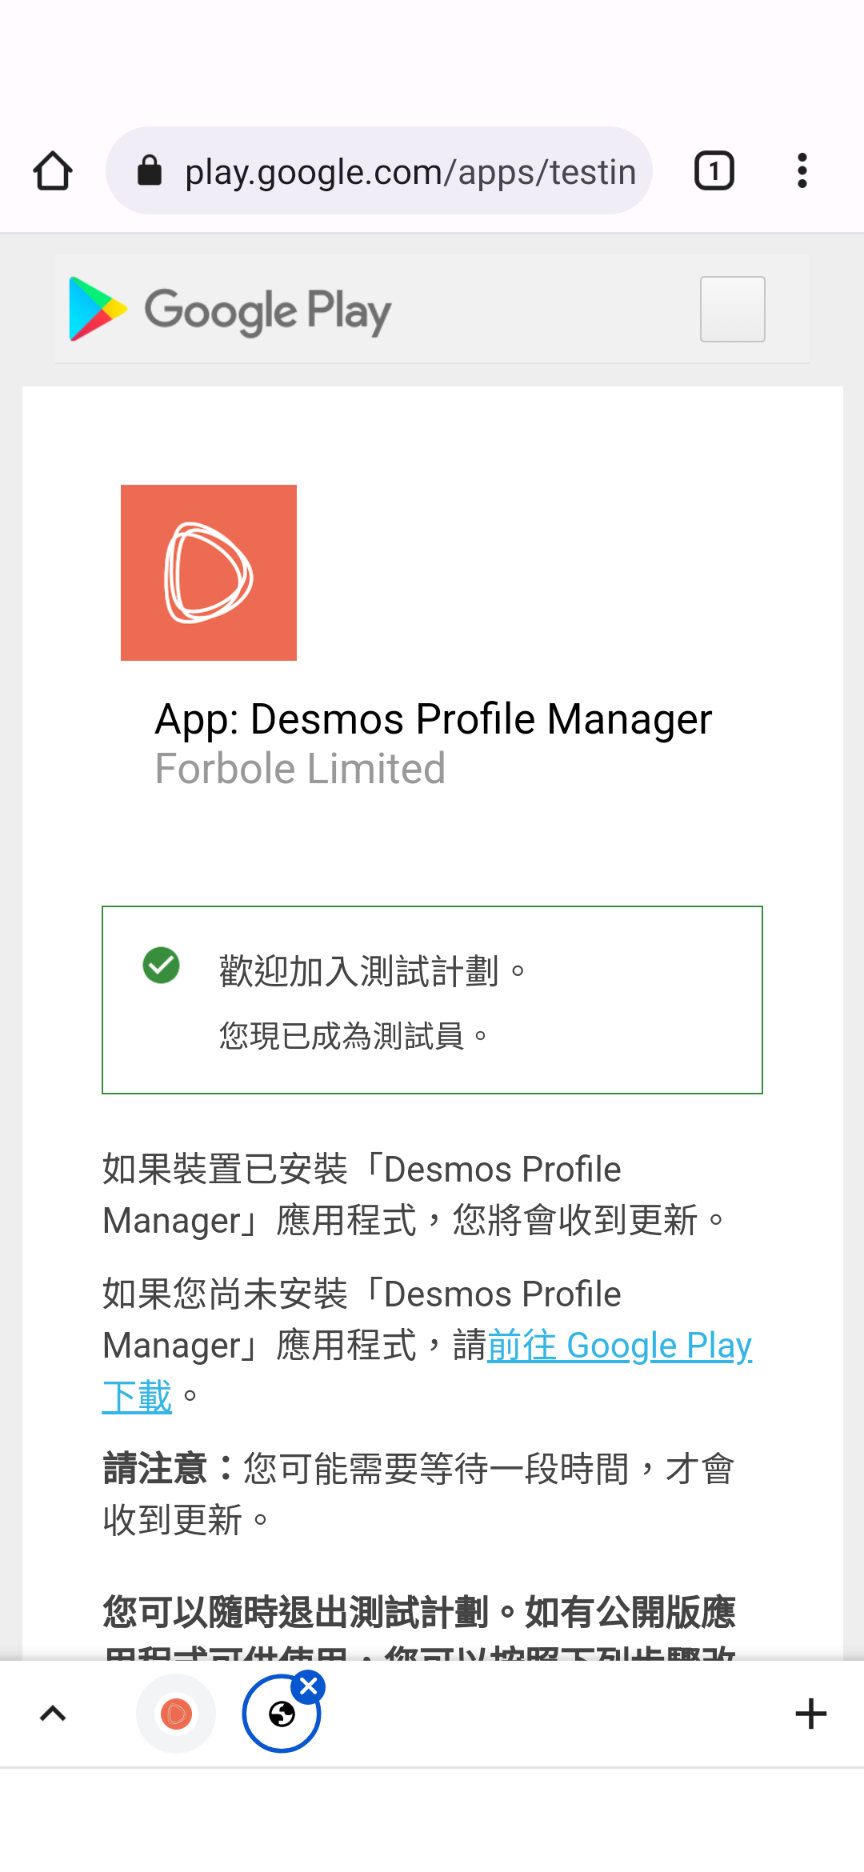
2. 點 Get it on Google Play 圖示後開啟 Google Play,點擊加入測試計劃。加入後,點「前往 Google Play 下載」的超連結。
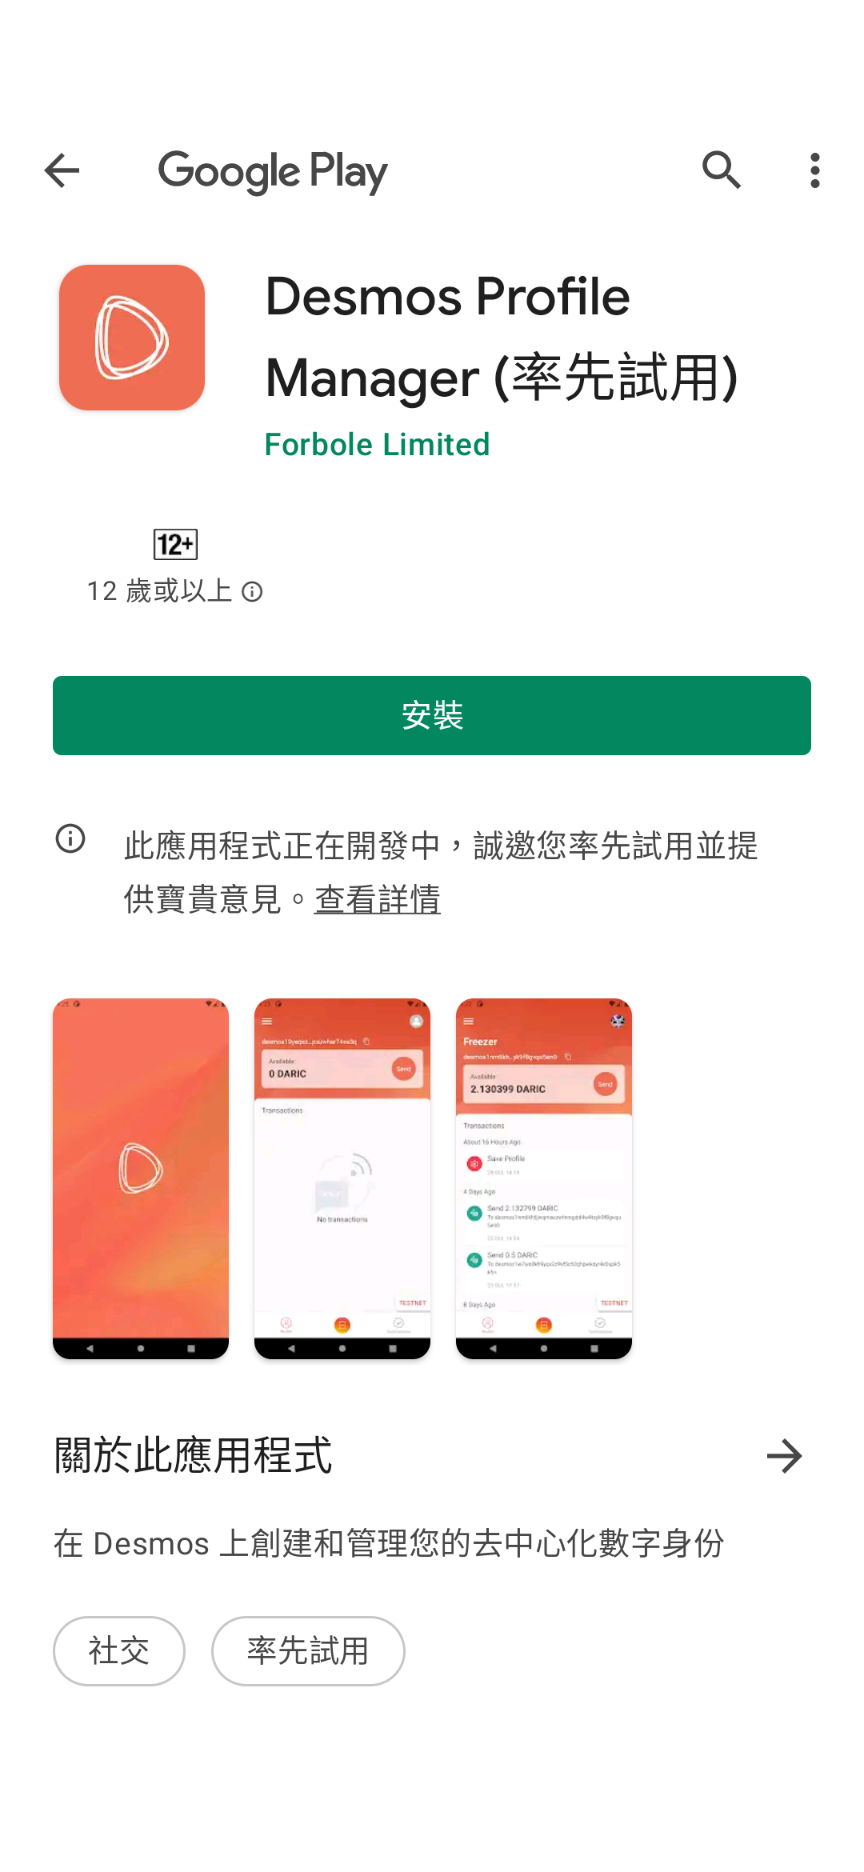
3. 點擊安裝下載 DPM。
開啟 DPM 導入現有 Forbole X 錢包
4. 下載後,你需要導入 Forbole X 錢包,現時 DPM 只支持導入現有帳戶不支持創建,所以如果你未創建錢包,請參考我的文章 Desmos Network | Forbole X 錢包詳解 先創建。未來將有機會增加 Ledger Nano 設備導入錢包的方式,但現時必須使用 Secret Recovery Phrase 導入錢包。選「Import Recovery Passphrase」。
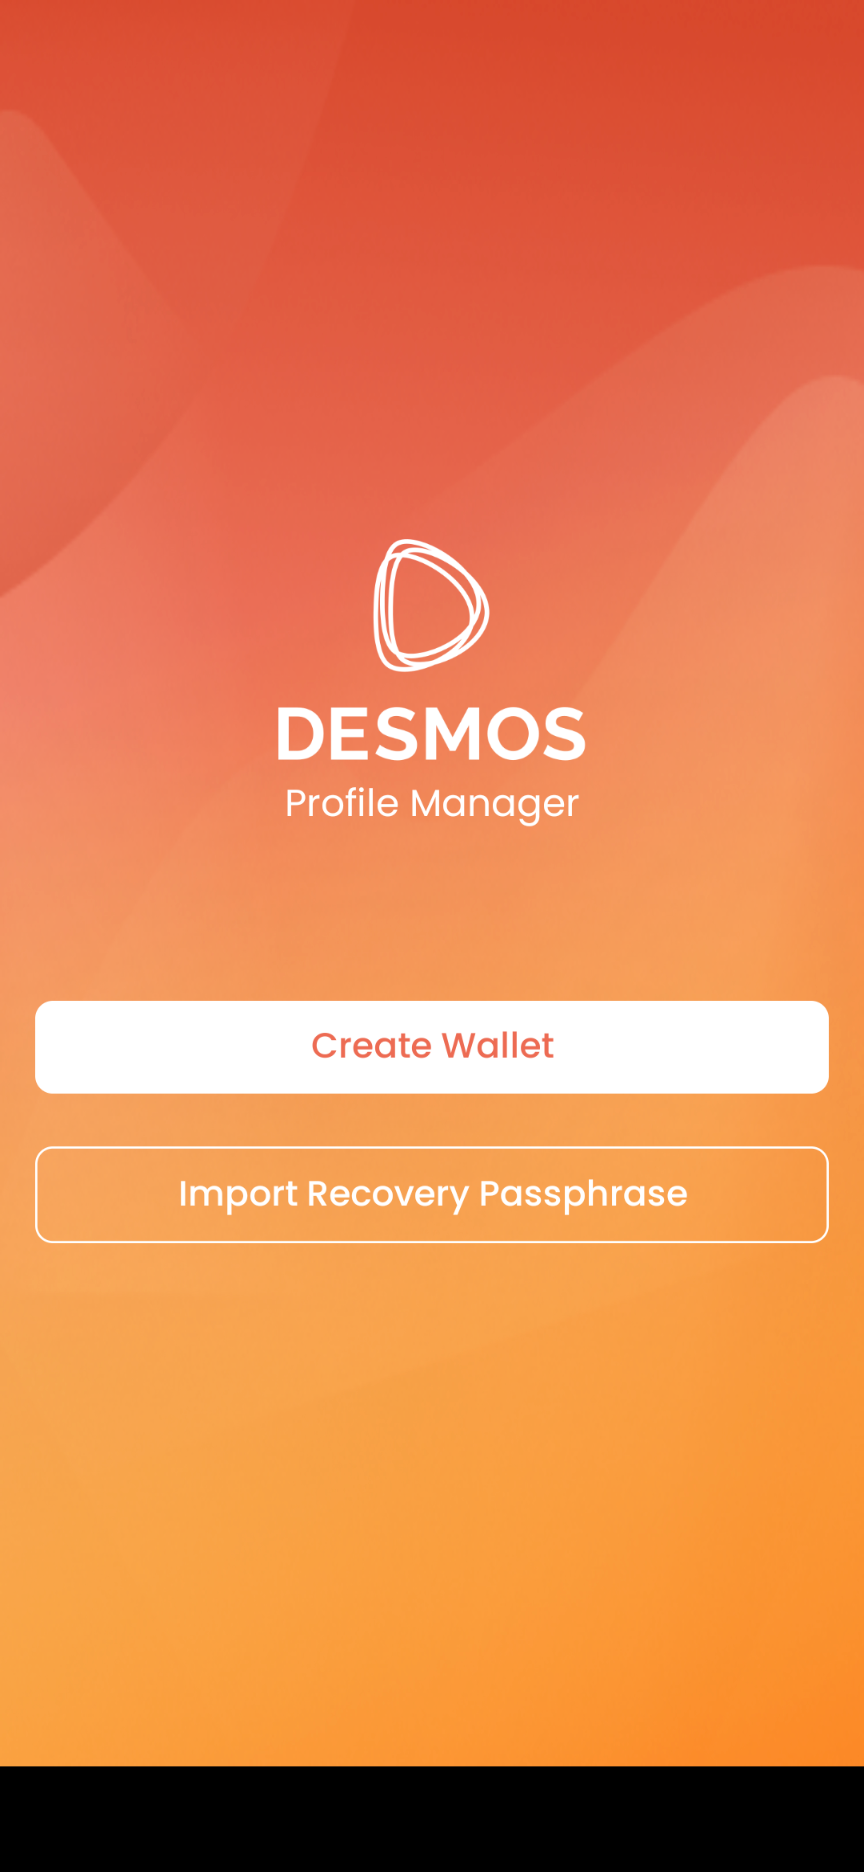
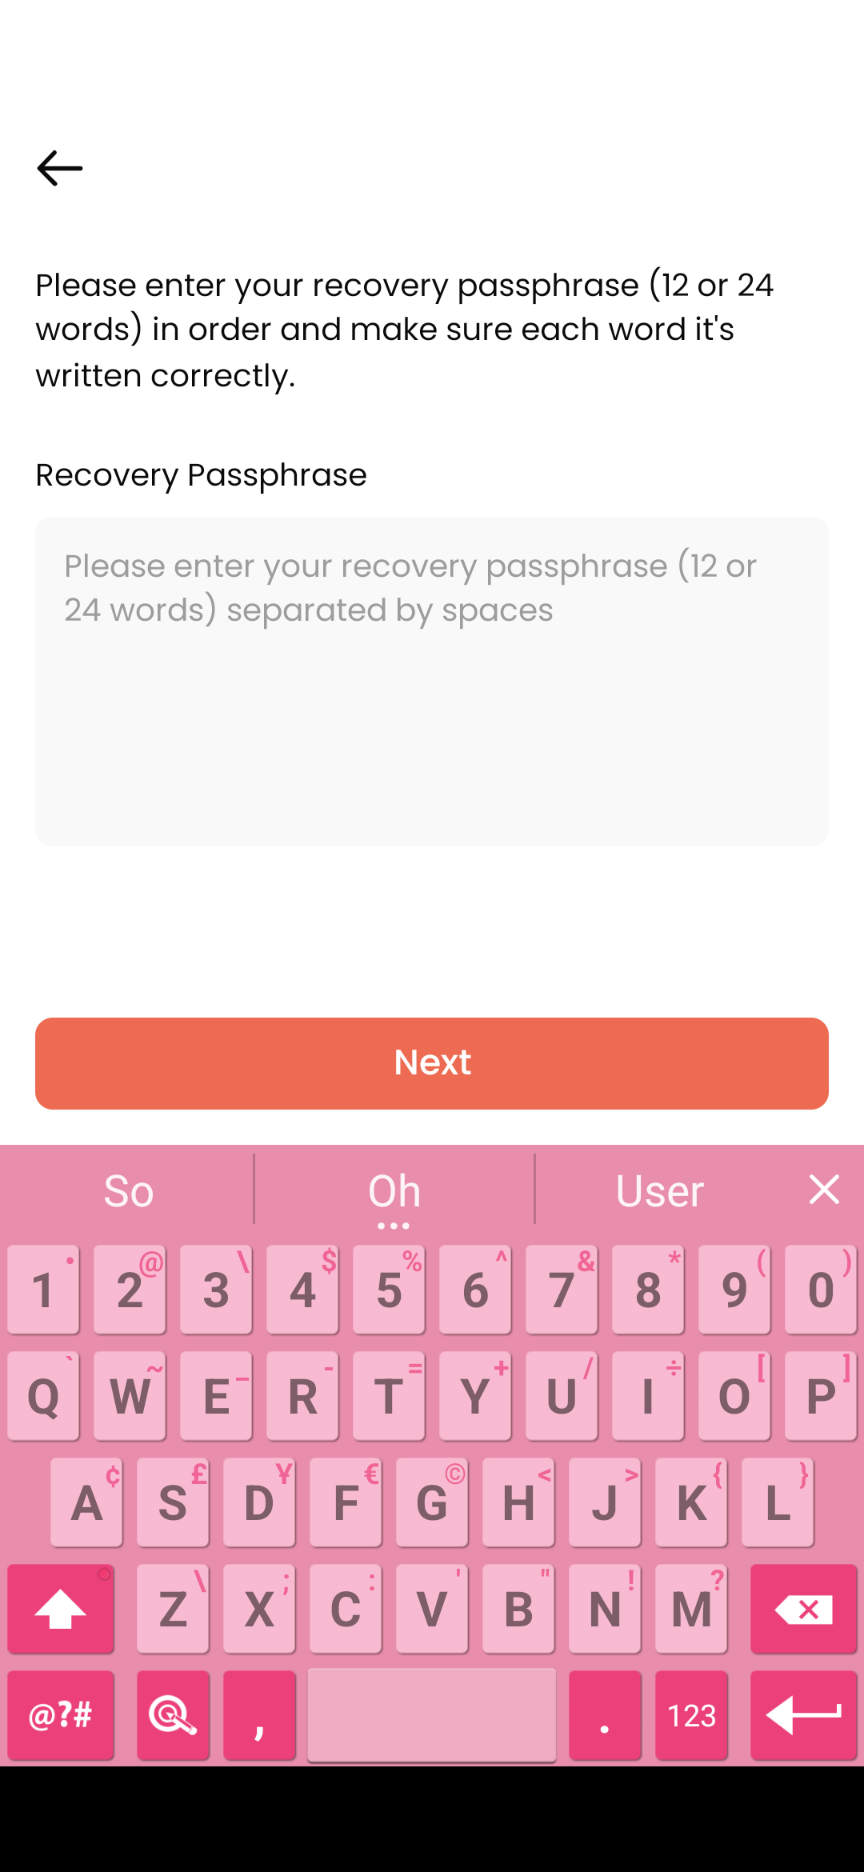
5. 輸入 24 個字 Secret Recovery Phrase ,再點「Next」。
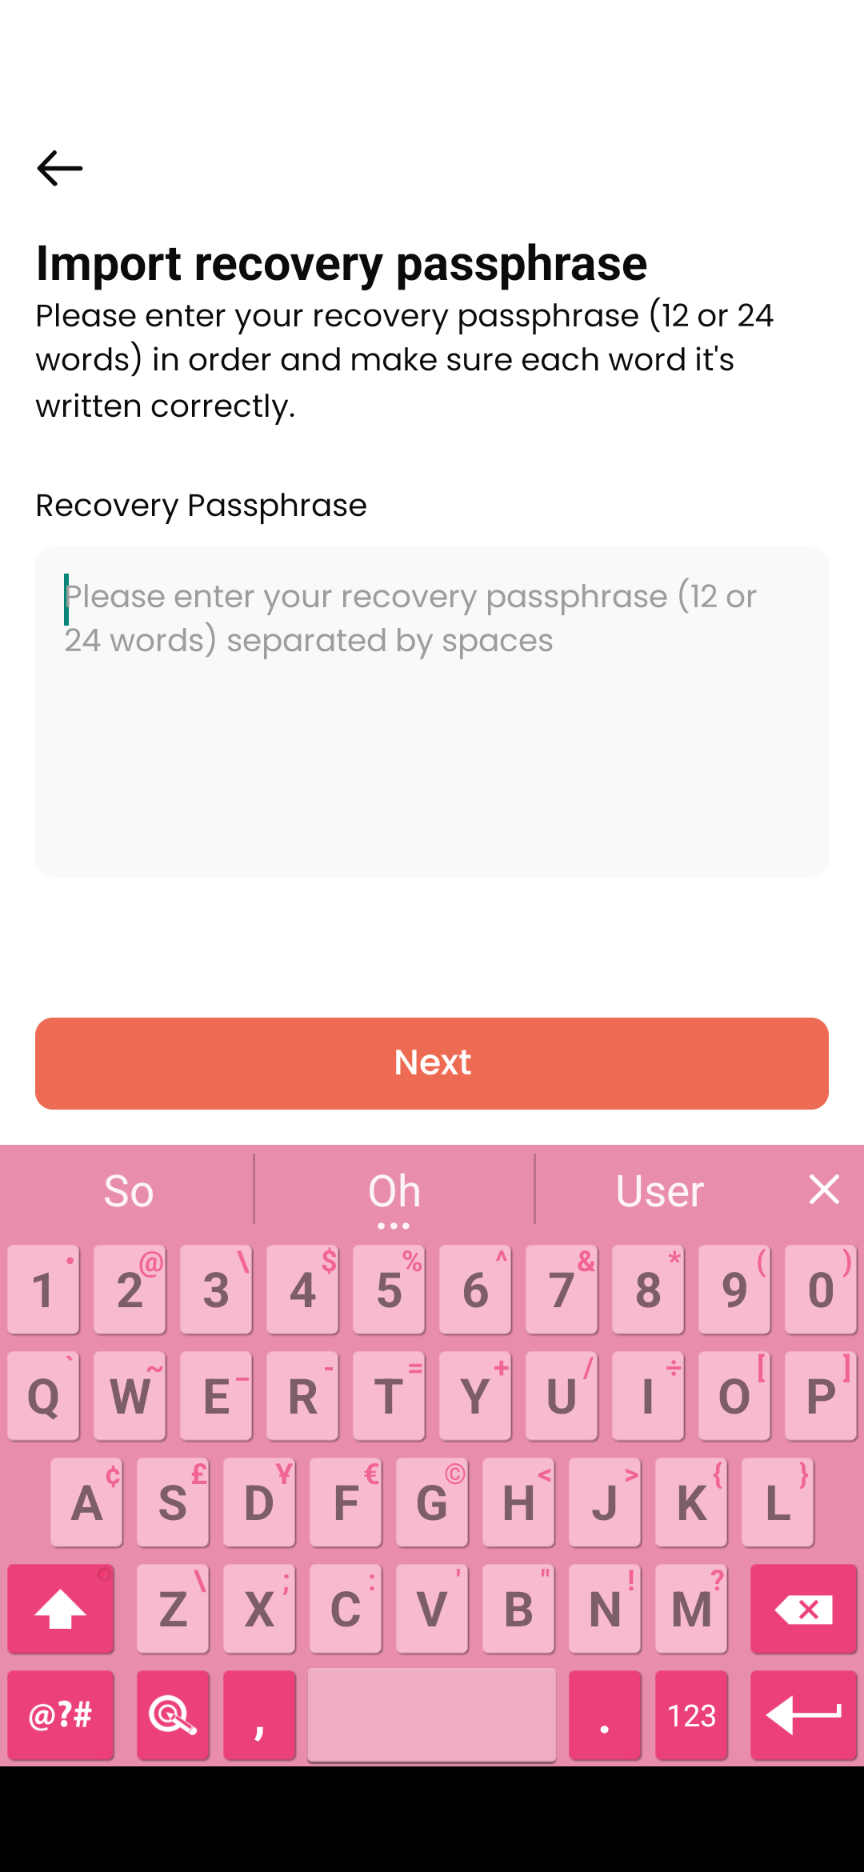
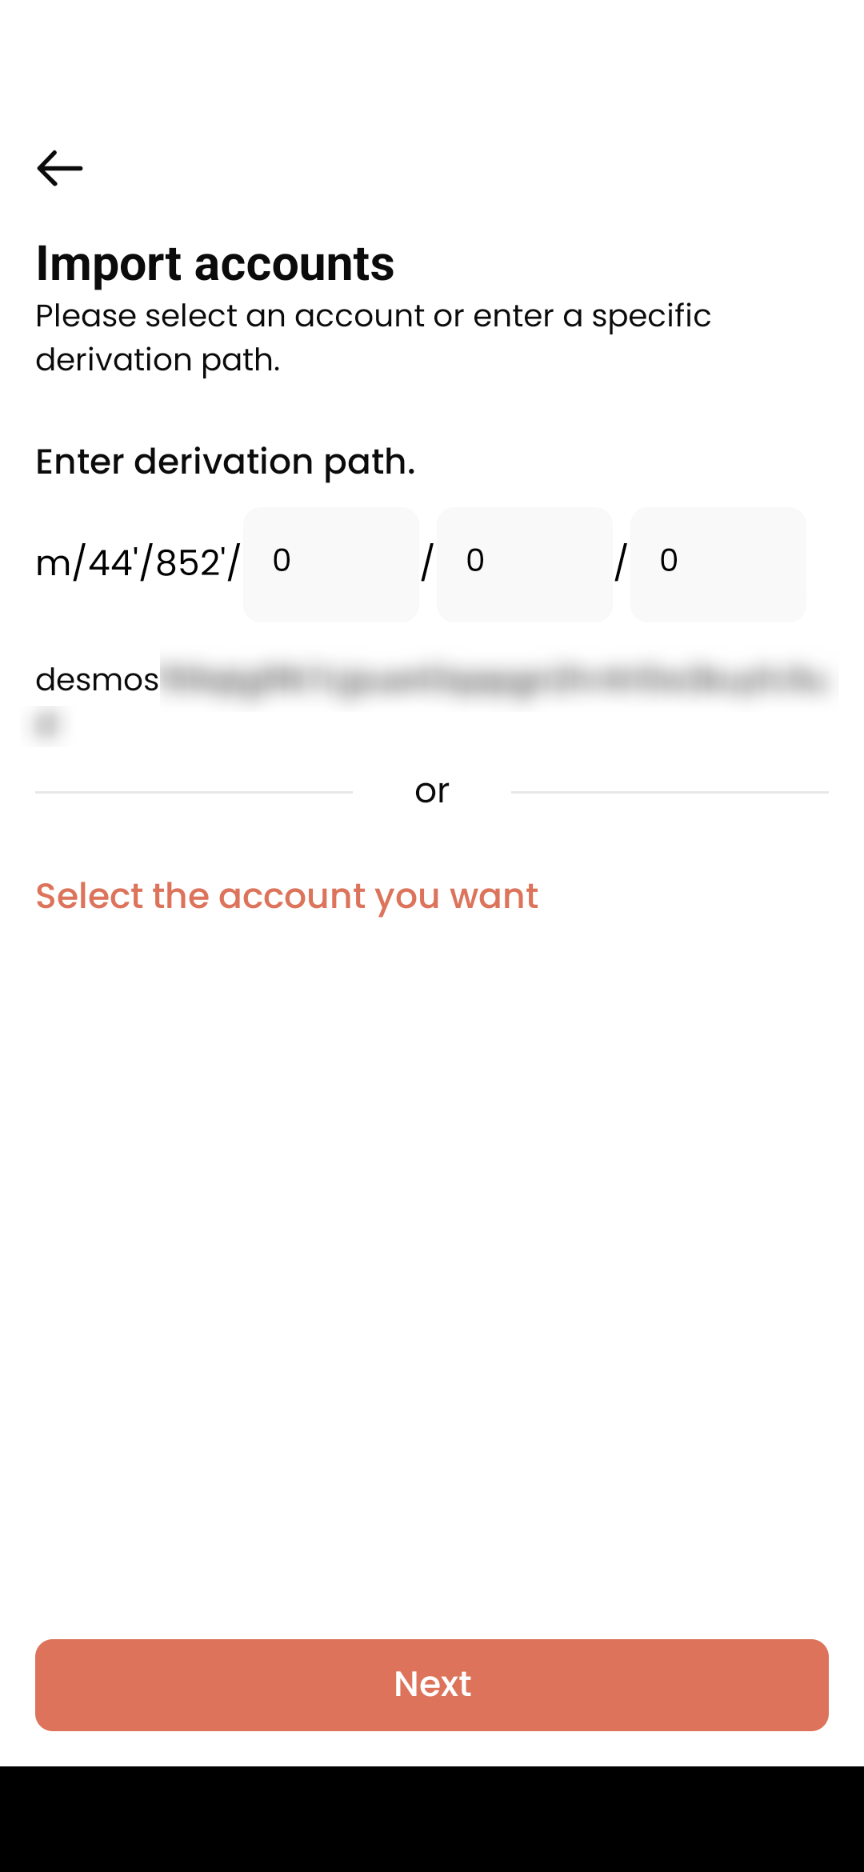
6. Import Account 畫面,假如你有 HD Derivation path 可以在此設定。如不需要,直接點「Next」。
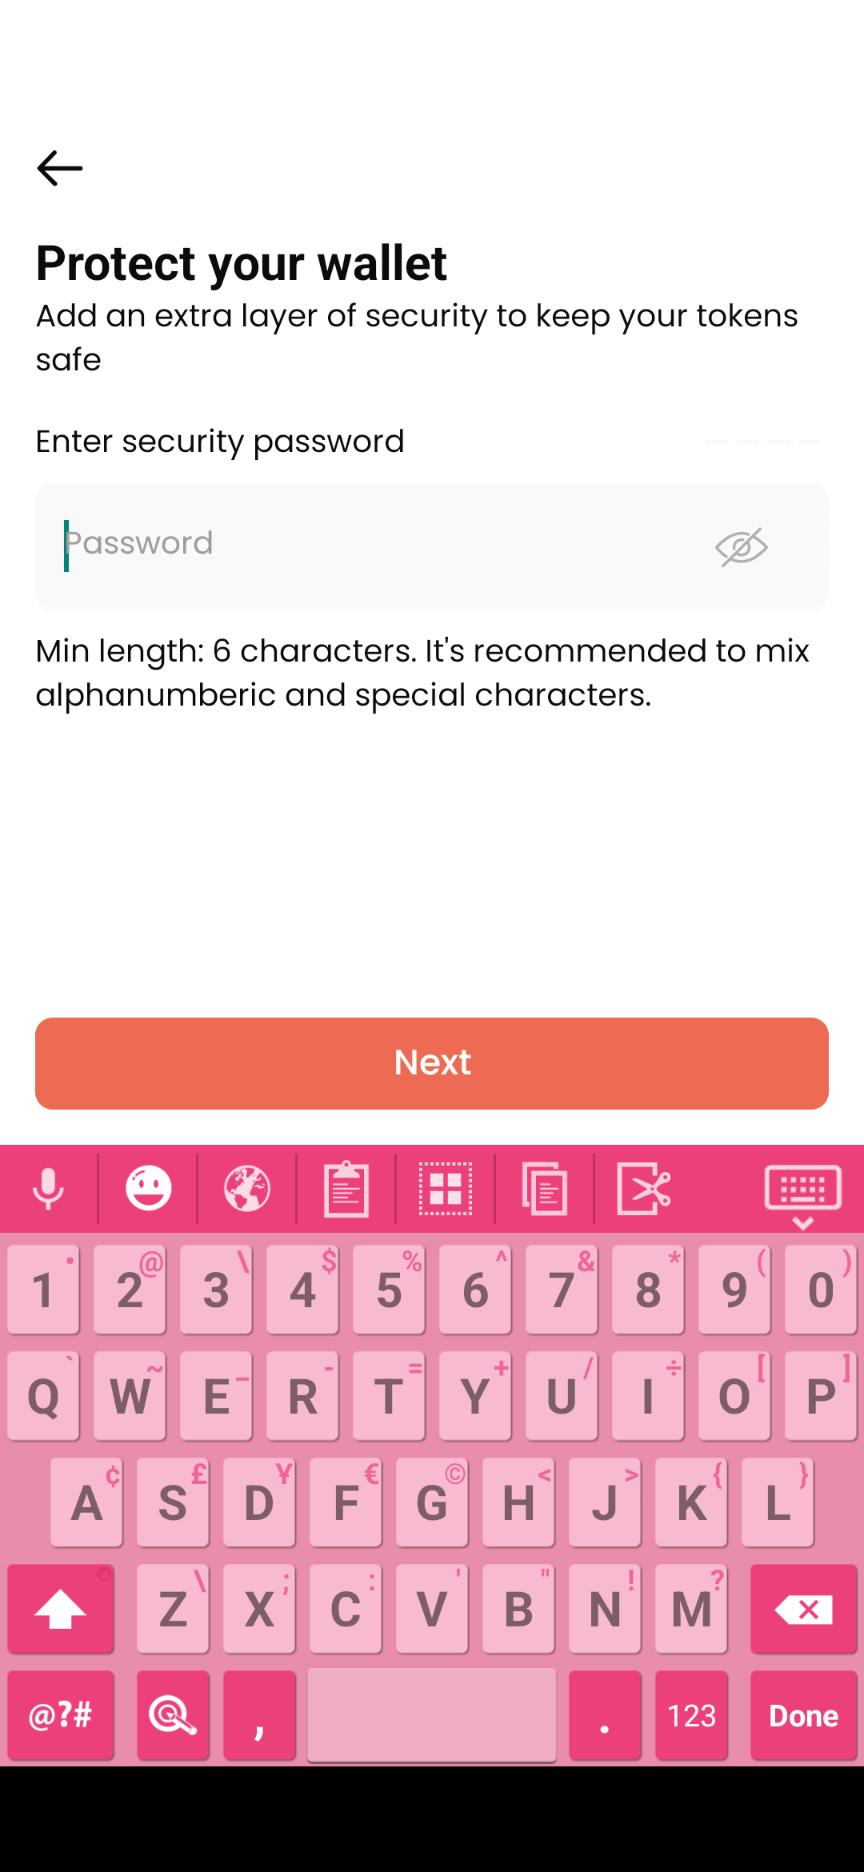
7. 輸入 security password 安全密碼保護你的錢包 ,點「Next」。
8. 再次輸入 security password 安全密碼確認,然後點「Confirm」。
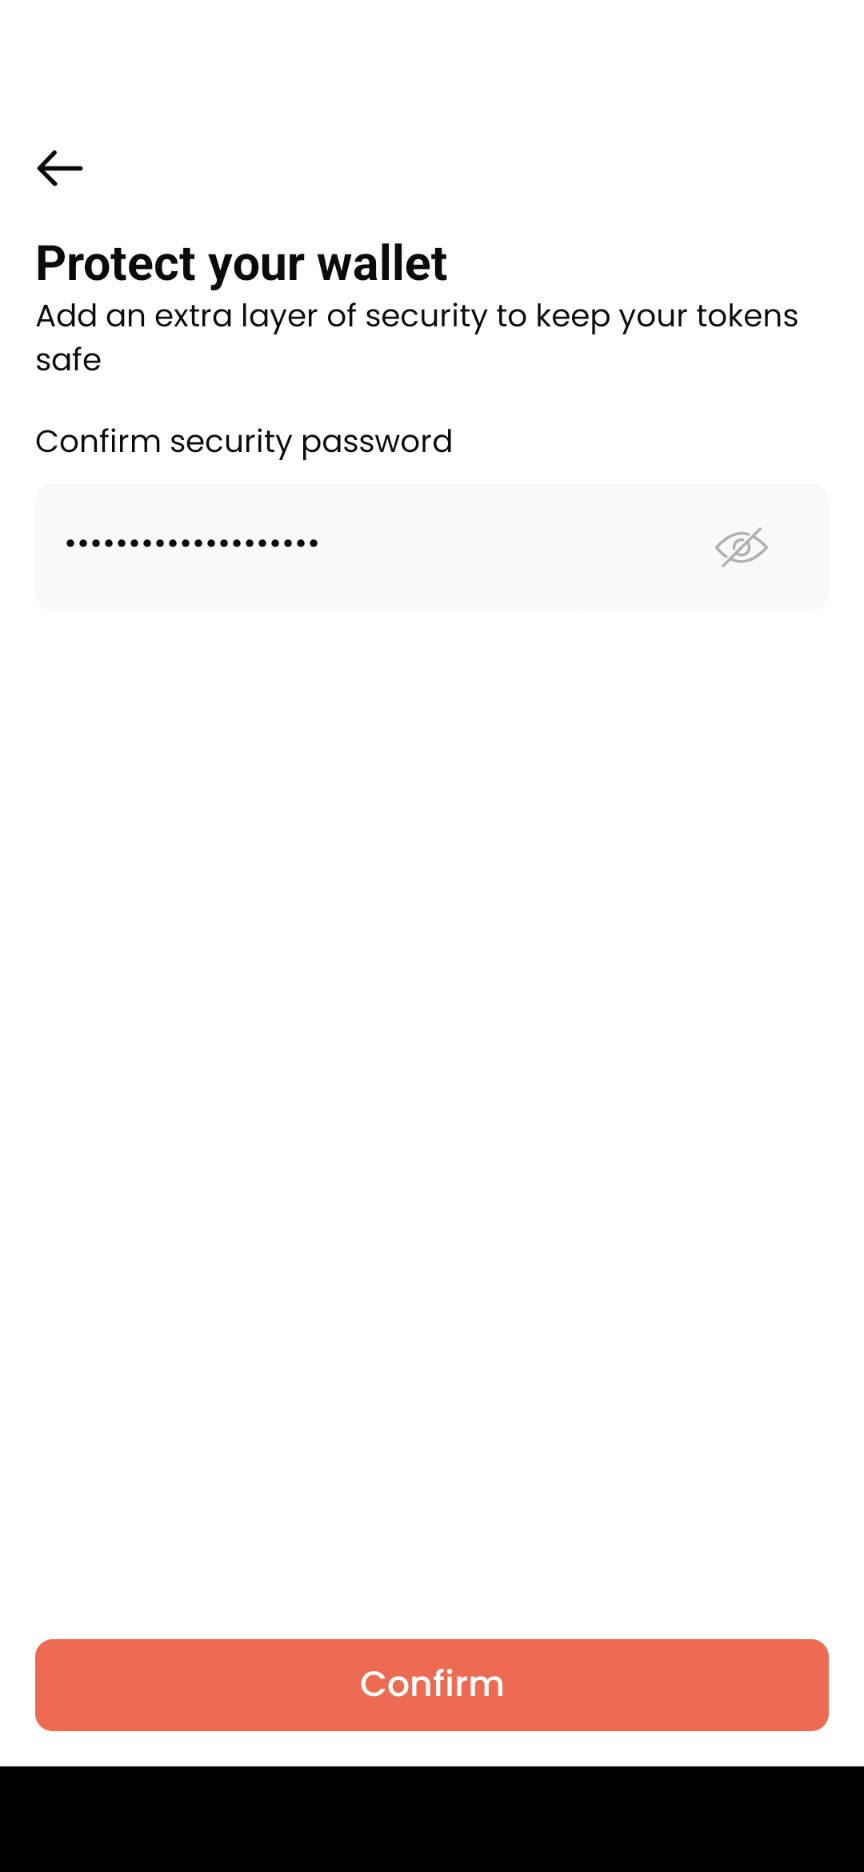
9. 恭喜,你經已成功導入你的 Forbole X 錢包。再點「Continue」繼續。
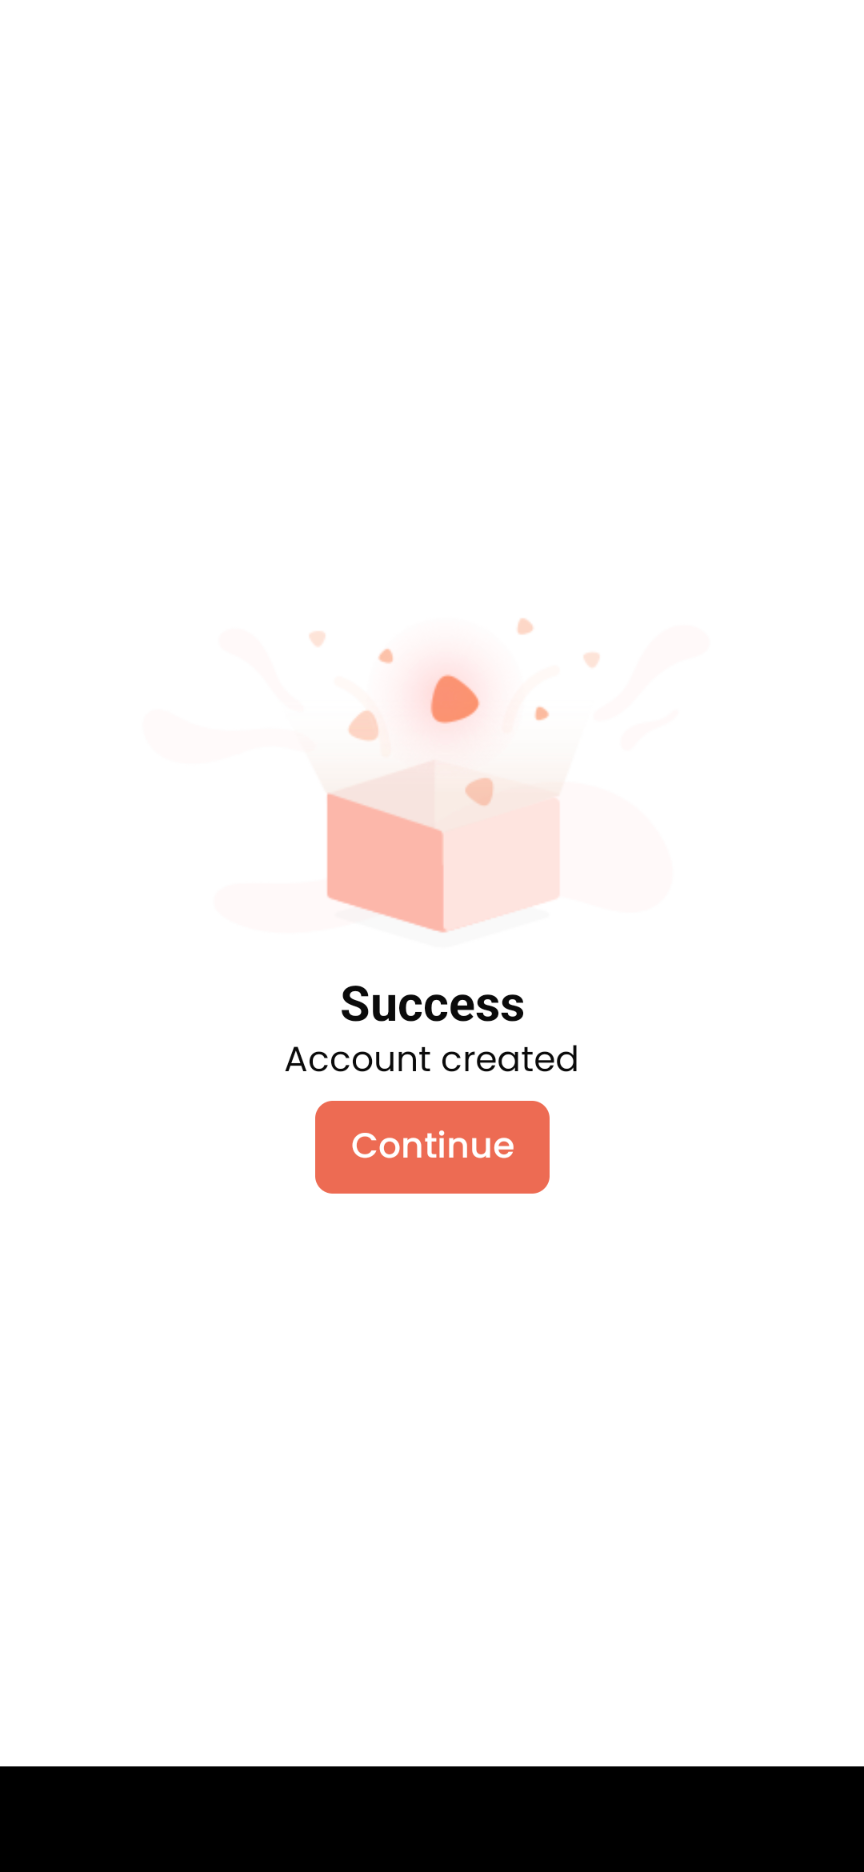
確認空投數量
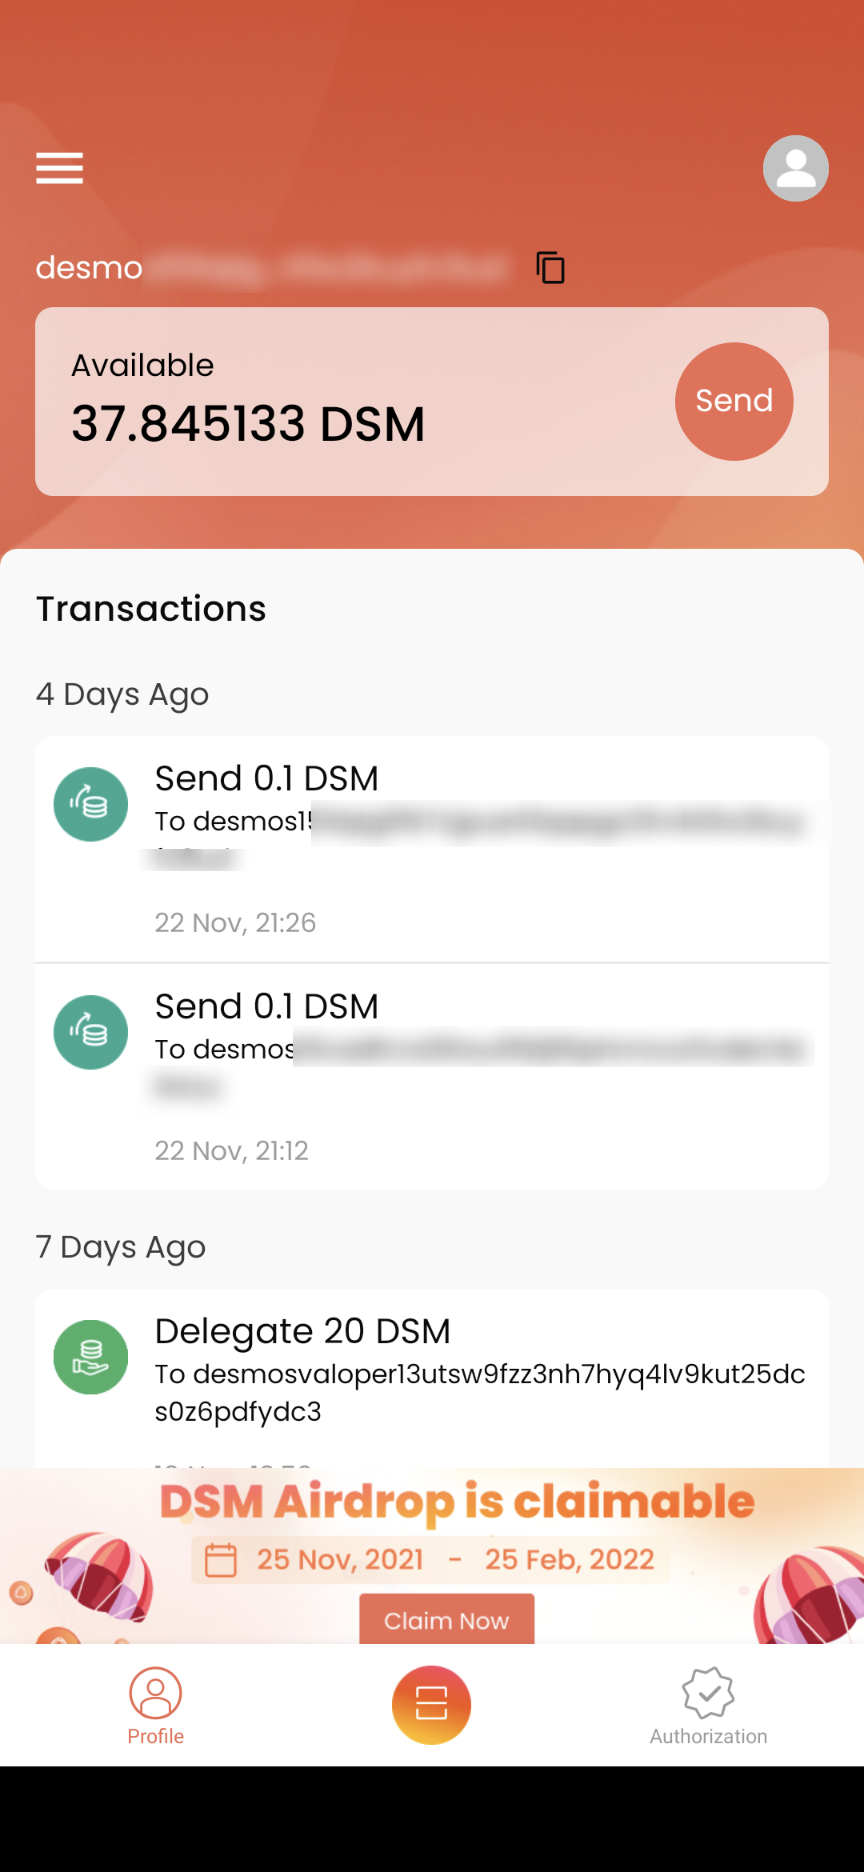
10. 你會看到你的錢包餘額和交易明細。點下面「DSM Airdrop is claimable」橫幅繼續。
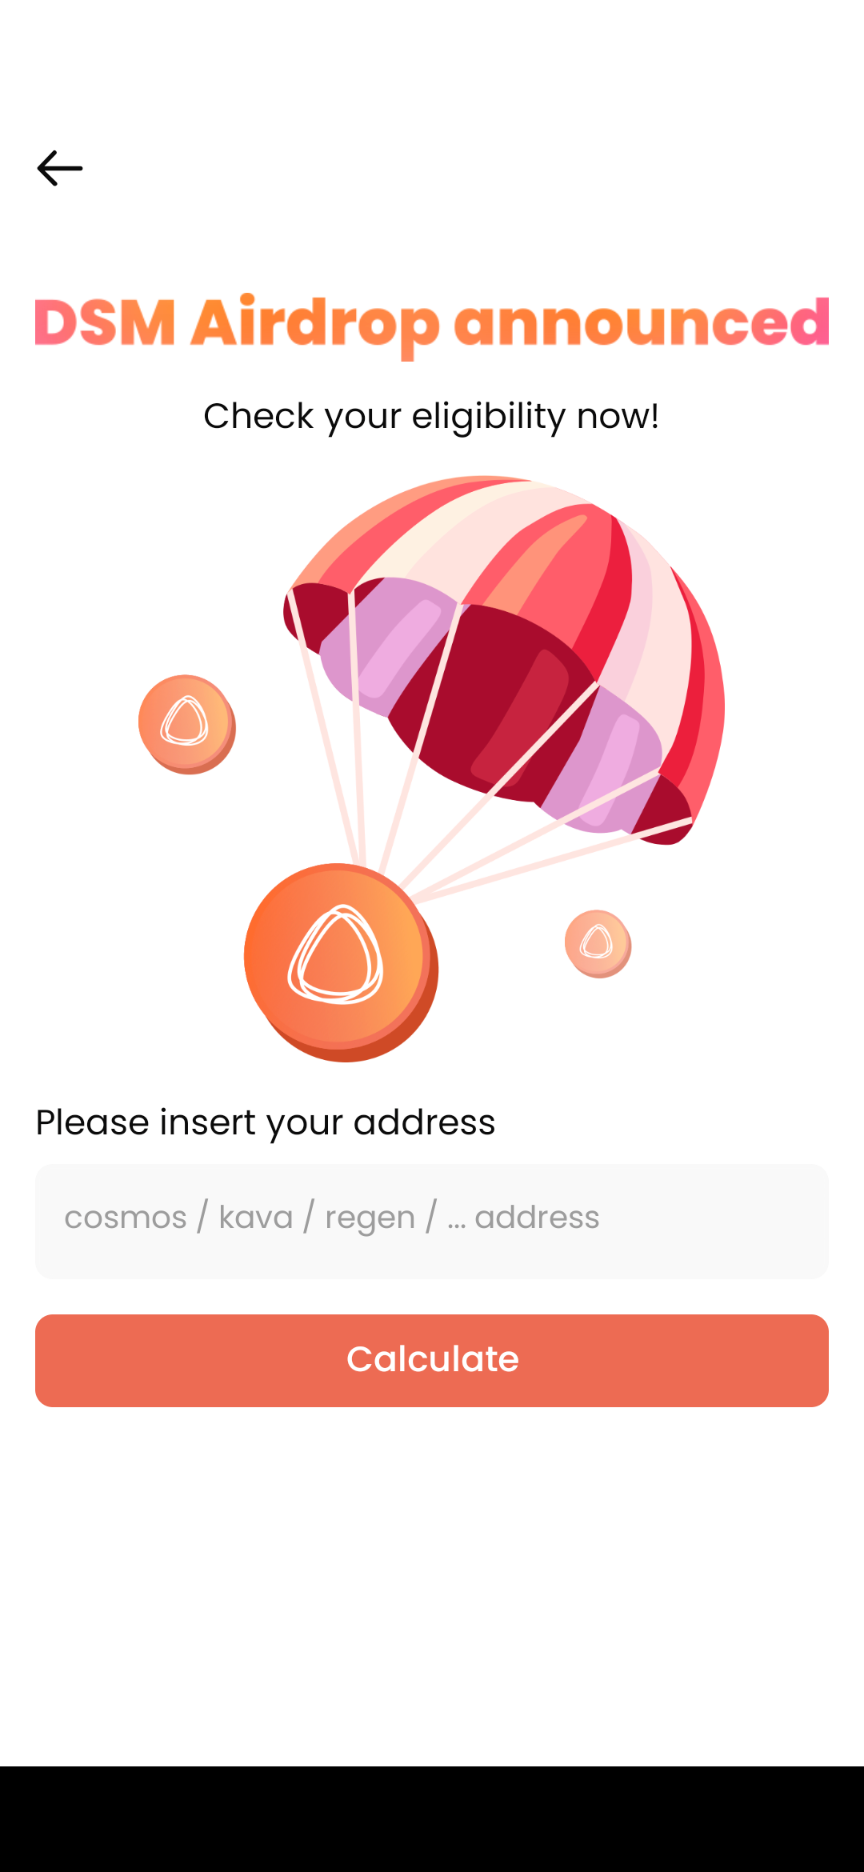
11. 在 DSM Airdrop annouced 畫面輸入你的機會獲得 Airdrop 的錢包地址,以下用 Osmosis 錢包地址為例。輸入後,點「Calculate」。
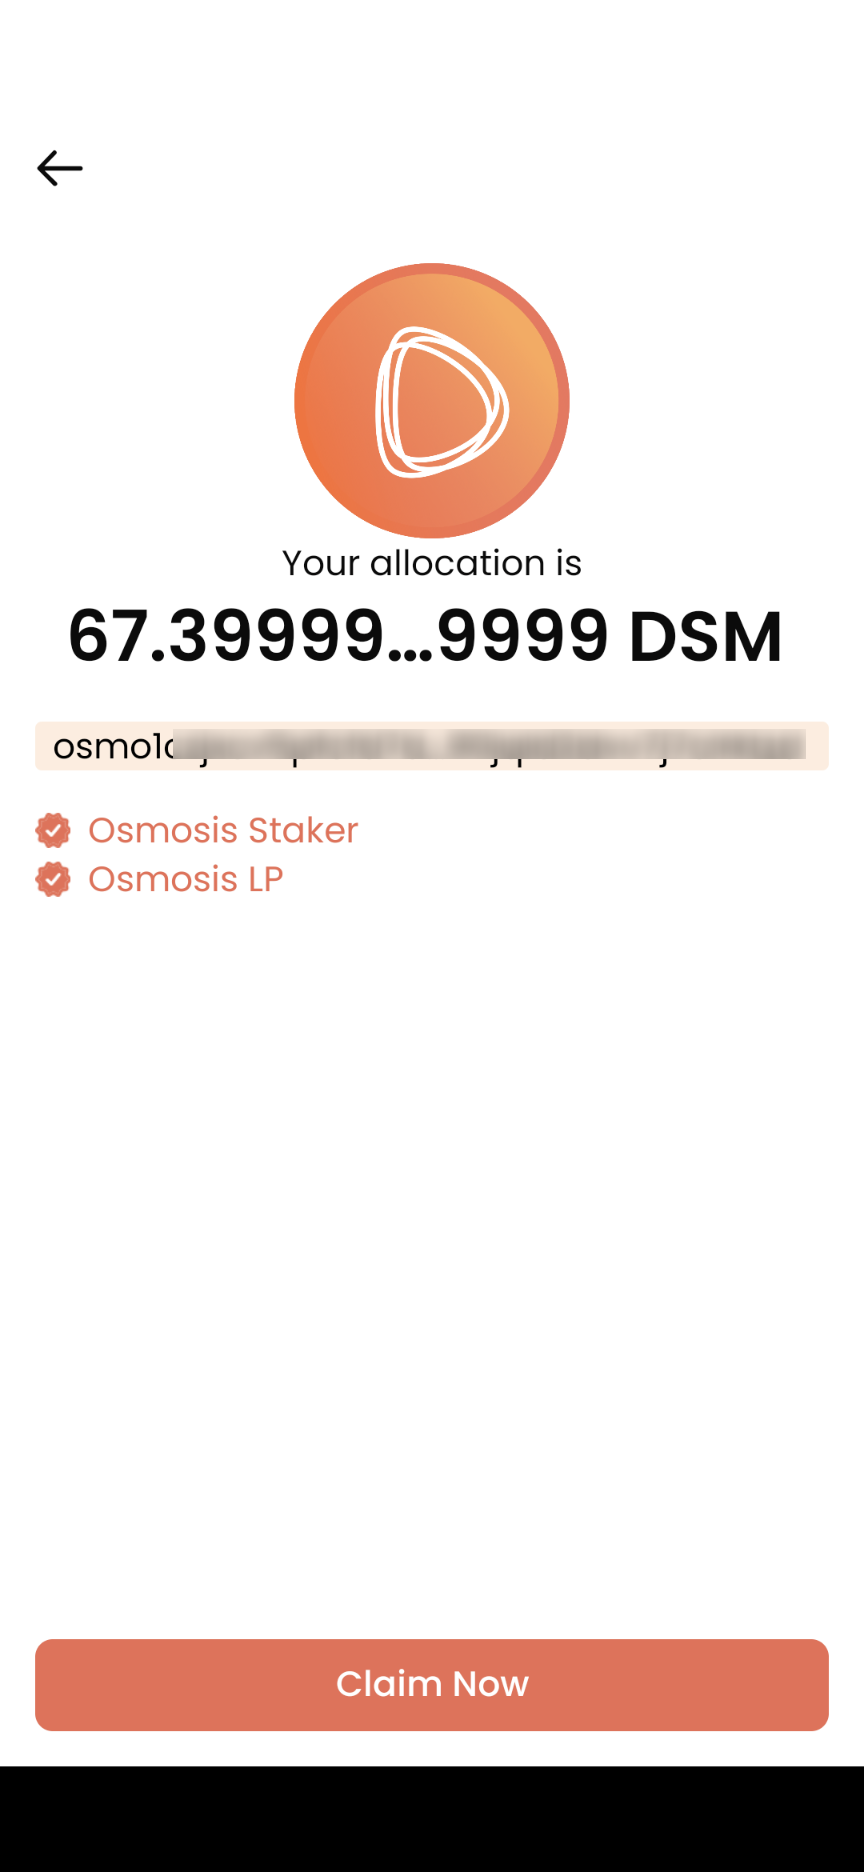
12. 看到這個戶口因為做了 Osmosis 委託和提共流動性,所以可以獲得 67.39999...9999 DSM 空投。點「Claim Now」。
創建 Desmos Profile
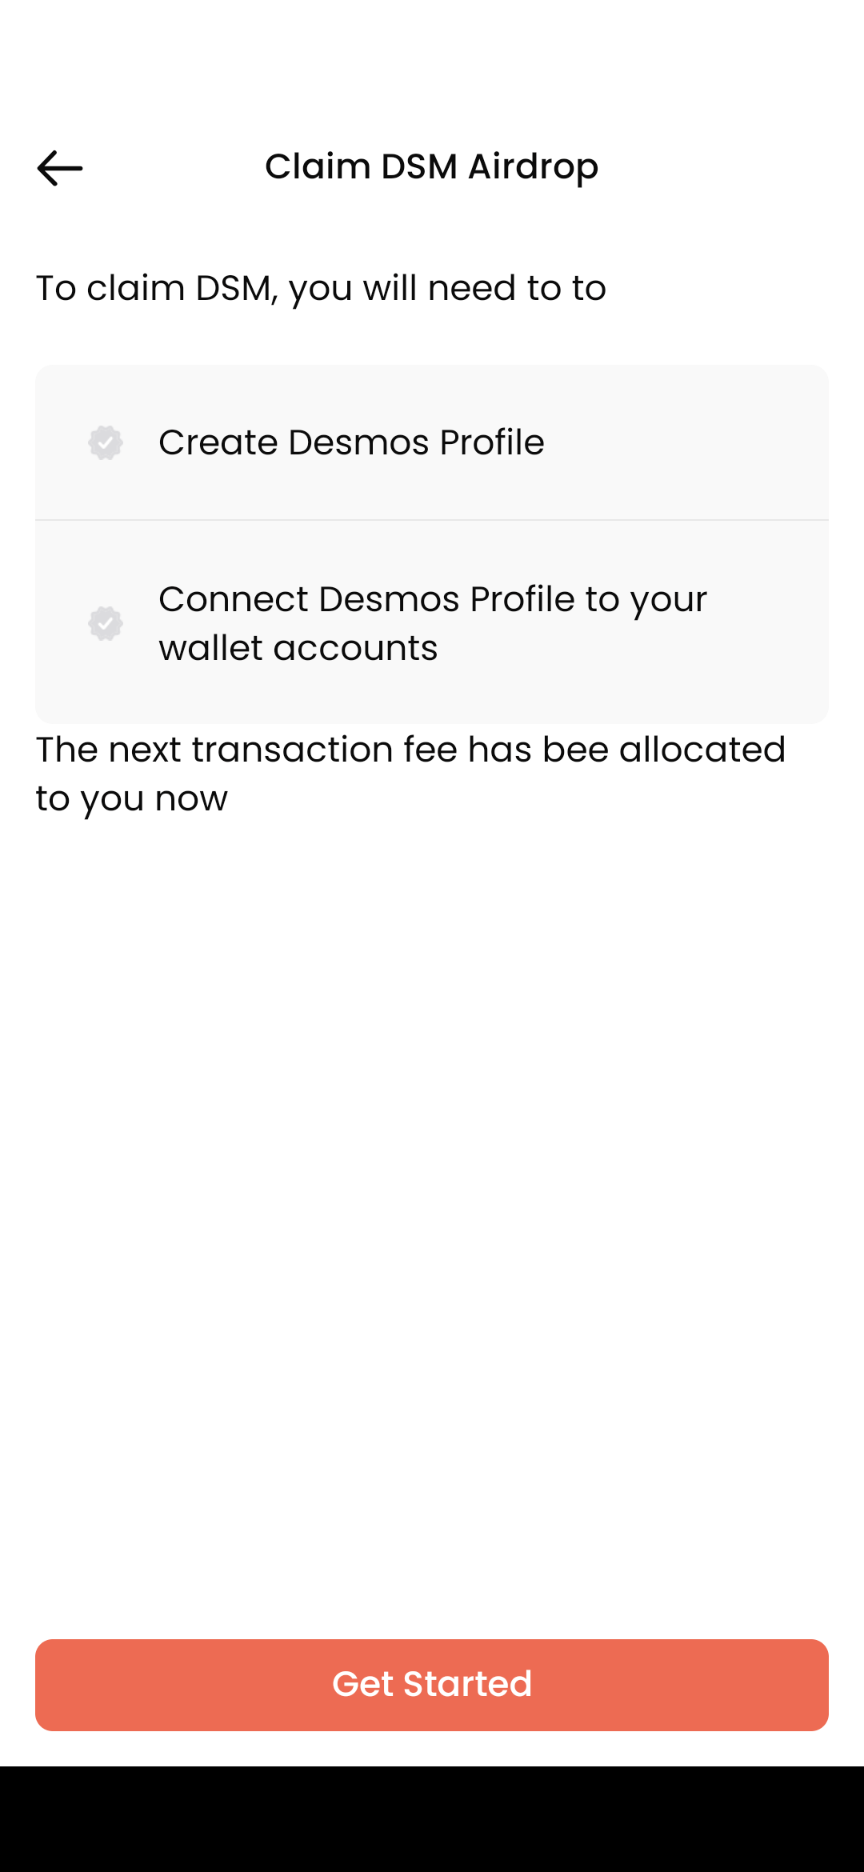
13. 顯示此畫面說明獲得 DSM 空投,你需要
- Create Desmos Profile 創製一個 Desmos Profile
- Connect Desmos Profile to your wallet accounts 將 Desmos Profile 接駁到你能獲得空投的那個錢包地址。
點「Get Started」繼續。
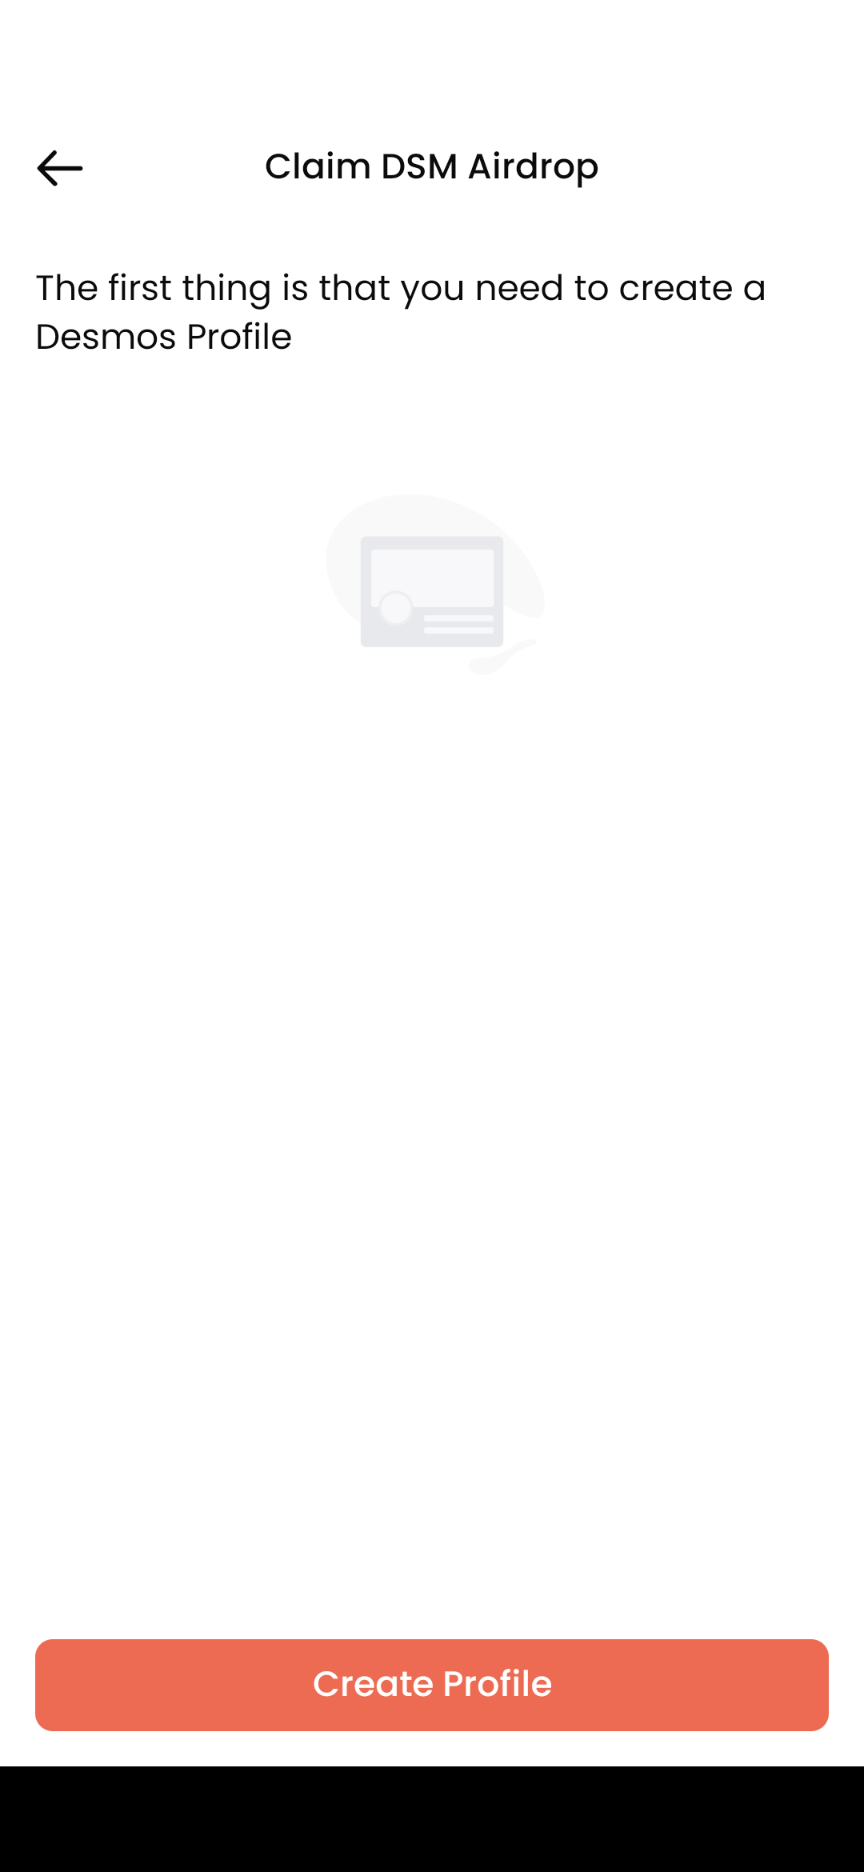
14. 這頁說明,首先你需要製作一個 Desmos Profile,點「Create Profile」。
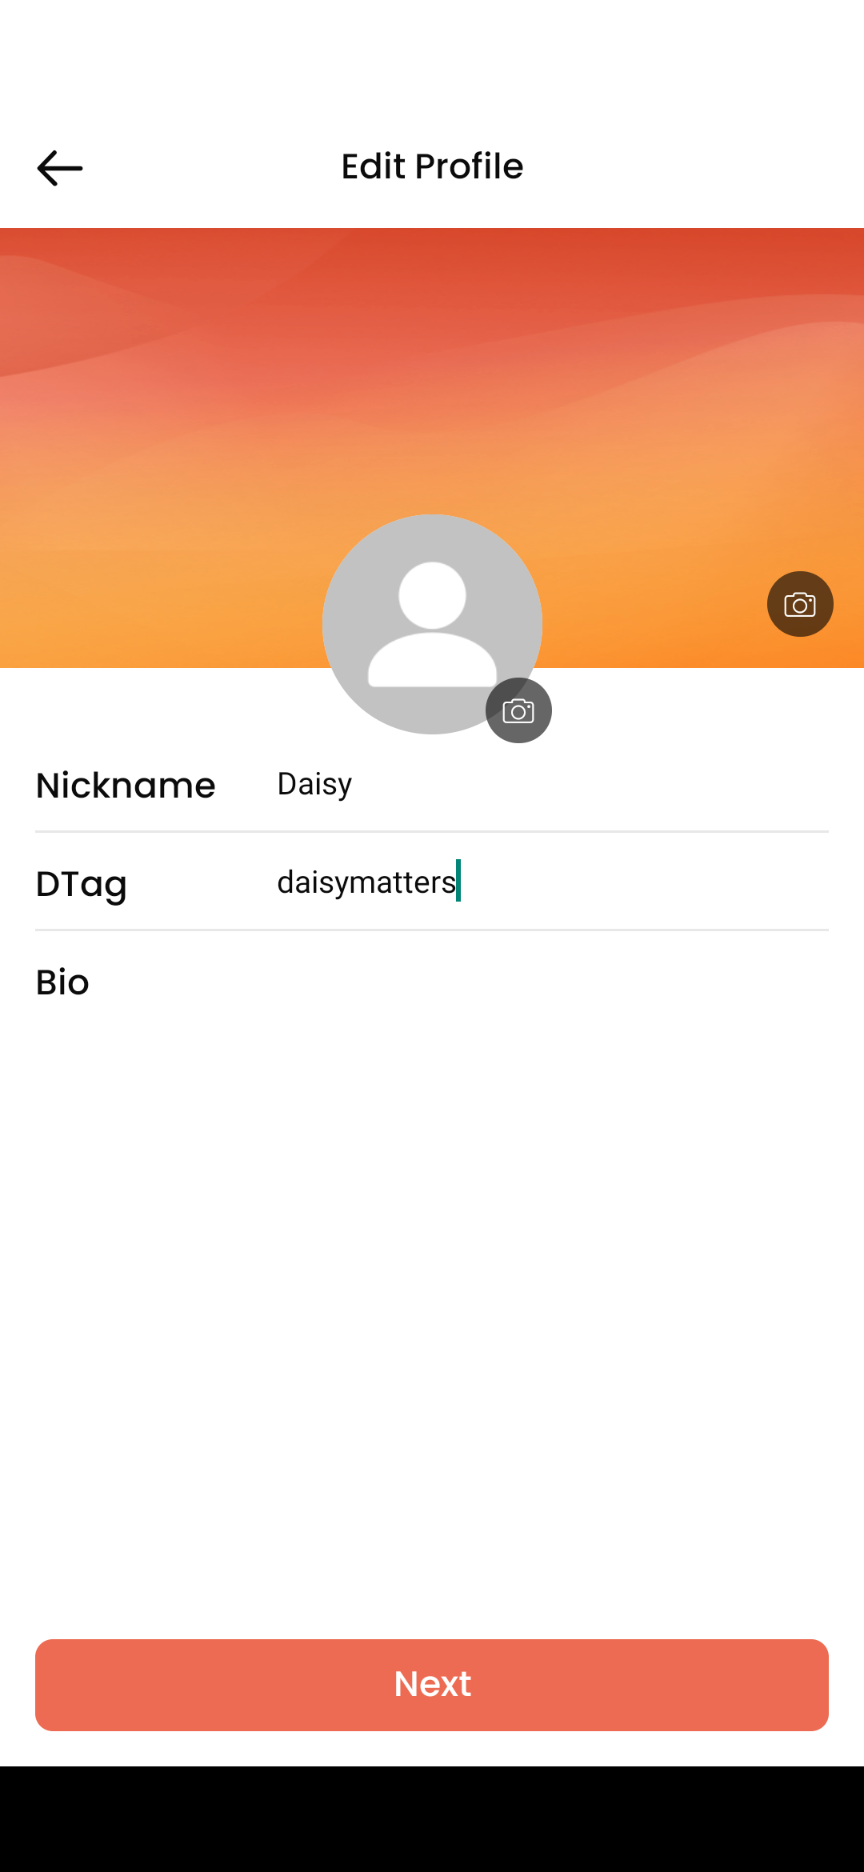
15. 輸入 Nickname 用戶綽號、DTag 即 Desmos 上的代號、個人簡介並上載頭像及 Cover Photo 背景圖後,你甚至可以加入 GIF 或 Emoji。完成後再點「Next」。
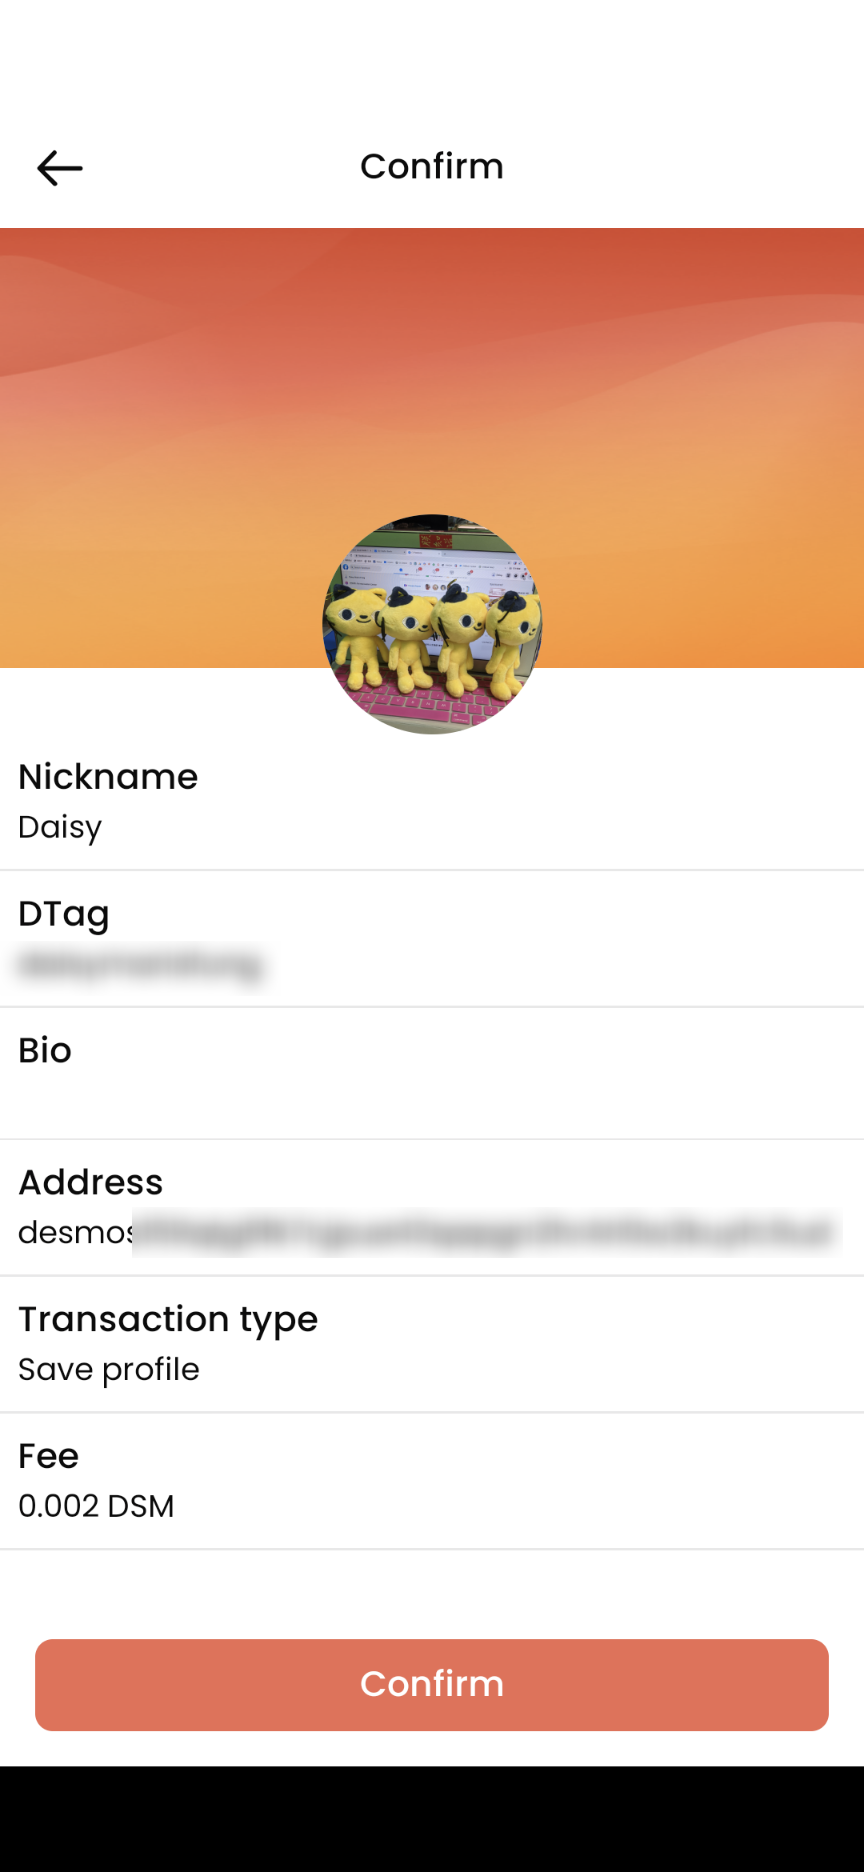
16. 出現你經已輸入的內容,留意雖然顯示有一筆 0.002 DSM 的費用要付,但 Desmos Network 會為你吸收這筆費用,不用擔心。複核無誤後點「Confirm」。出現畫面要求輸入 security password 安全密碼,輸入後等待一會。
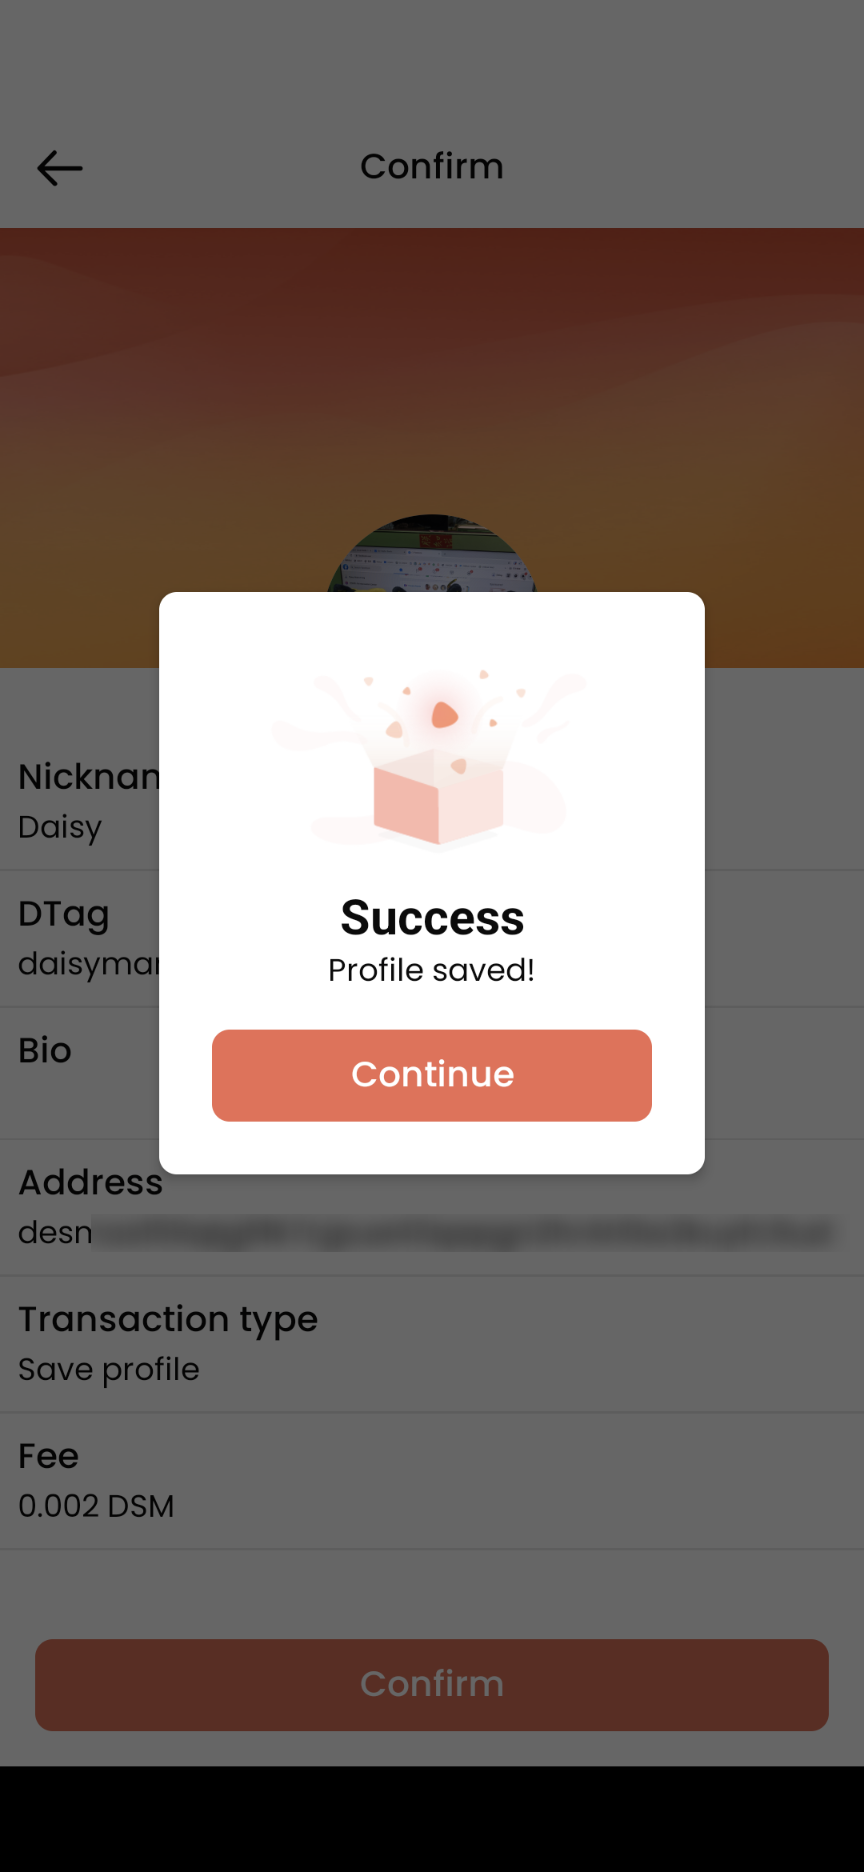
17. 出現 Success Profile Saved! 畫面,Desmos Profile 經已成功創建。點「Continue」繼續。
將 Desmos Profile 與空投錢包連結
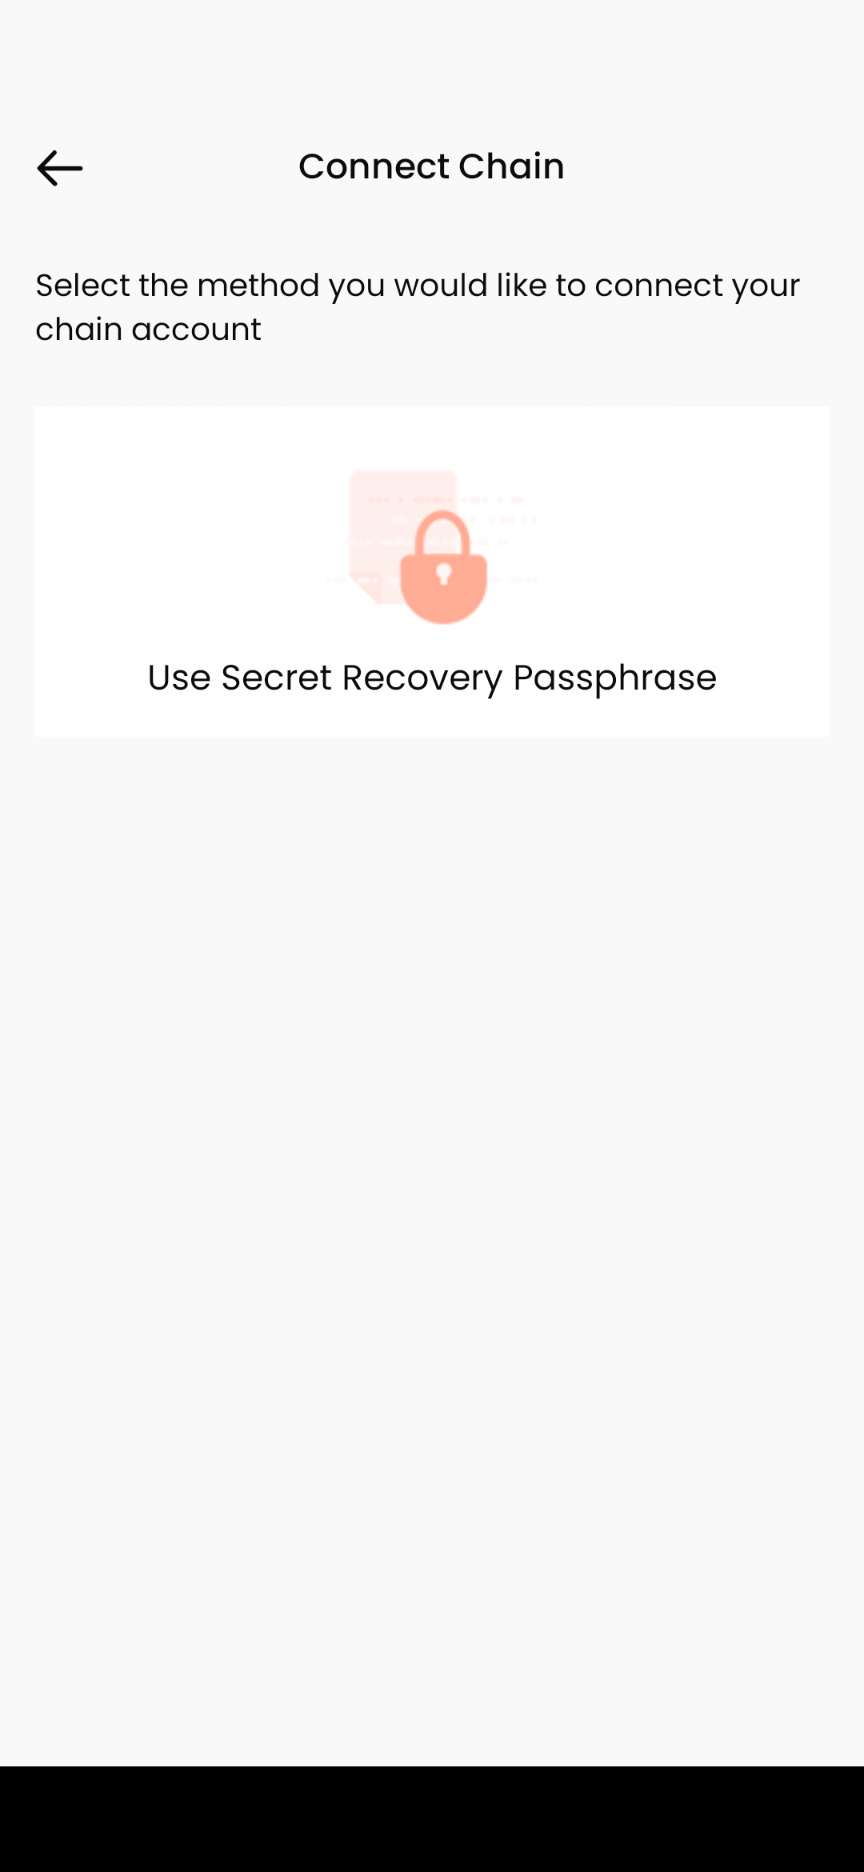
18. 接下來需要將這個新創製的 Desmos Profile 與有份獲得空投的錢包進行連結,點「Use Secret Recovery Passphrase」繼續。
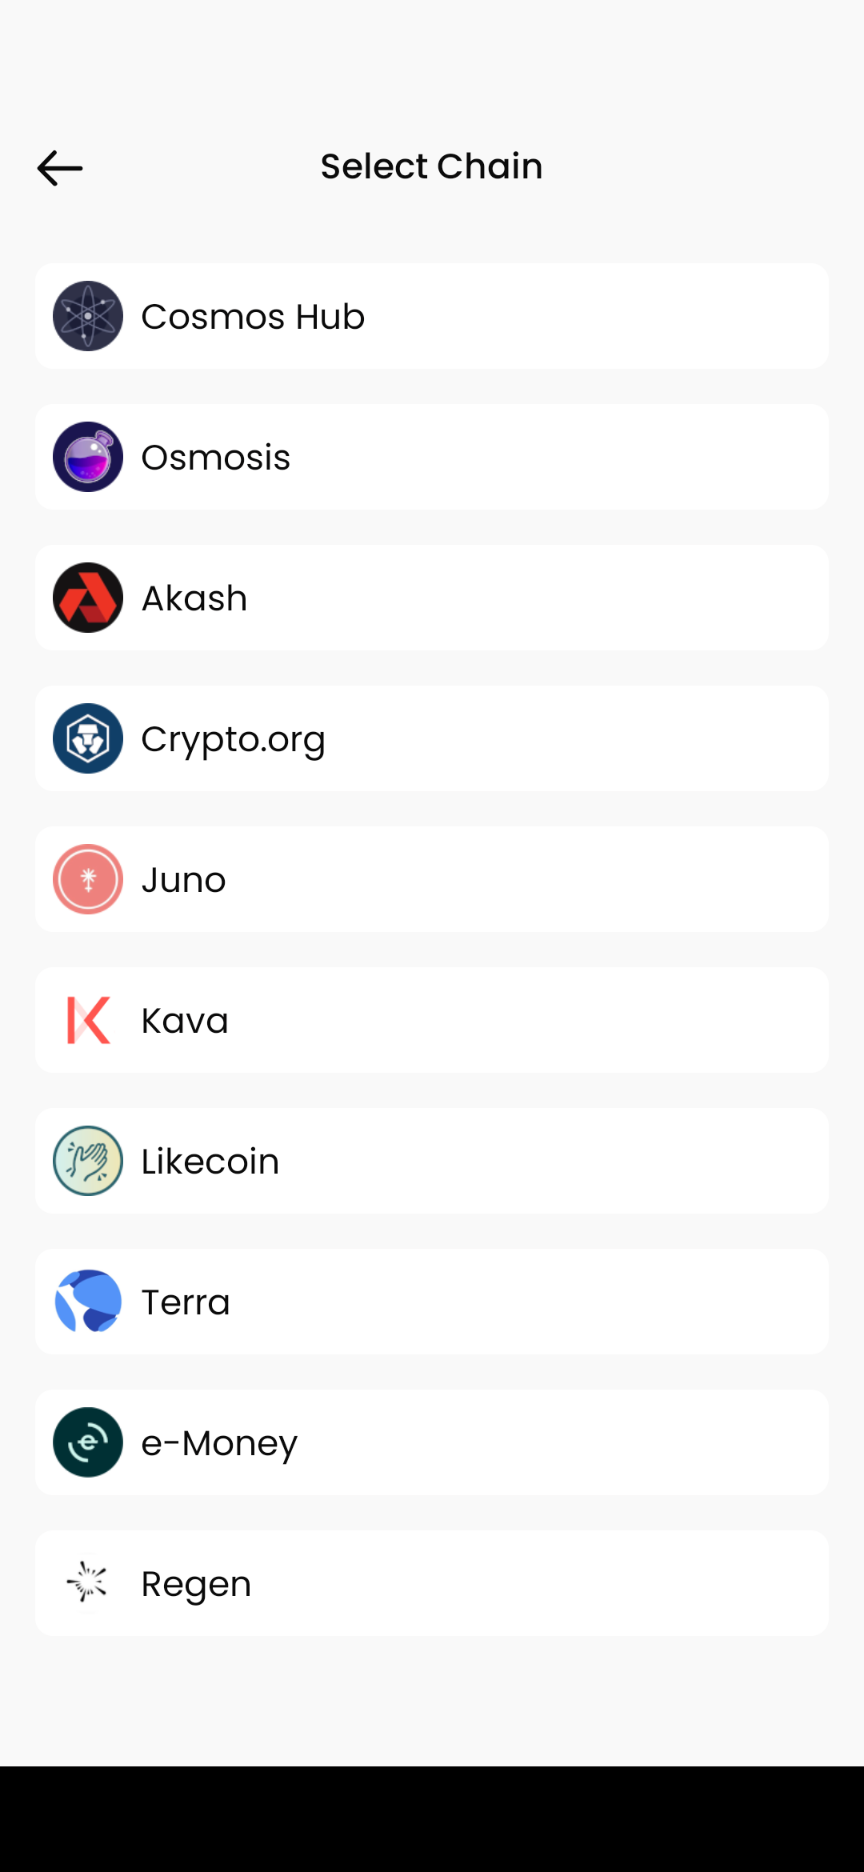
19. 由於我之前填寫了我的 Osmosis 錢包,所以在這個畫面點 Osmosis。相信如果點了 LikeCoin 的話會進入跑 Authcore 程序。因為我剛好在那段時間正在將資金轉移到 Keplr 沒有做委託,所以未能示範,希望有人可以幫手寫出步驟來。
19 會被要求輸入我的 Mnemonic Seed 私鑰與我這個剛製作的 Desmos Profile 做連結。輸入後點「Next」。
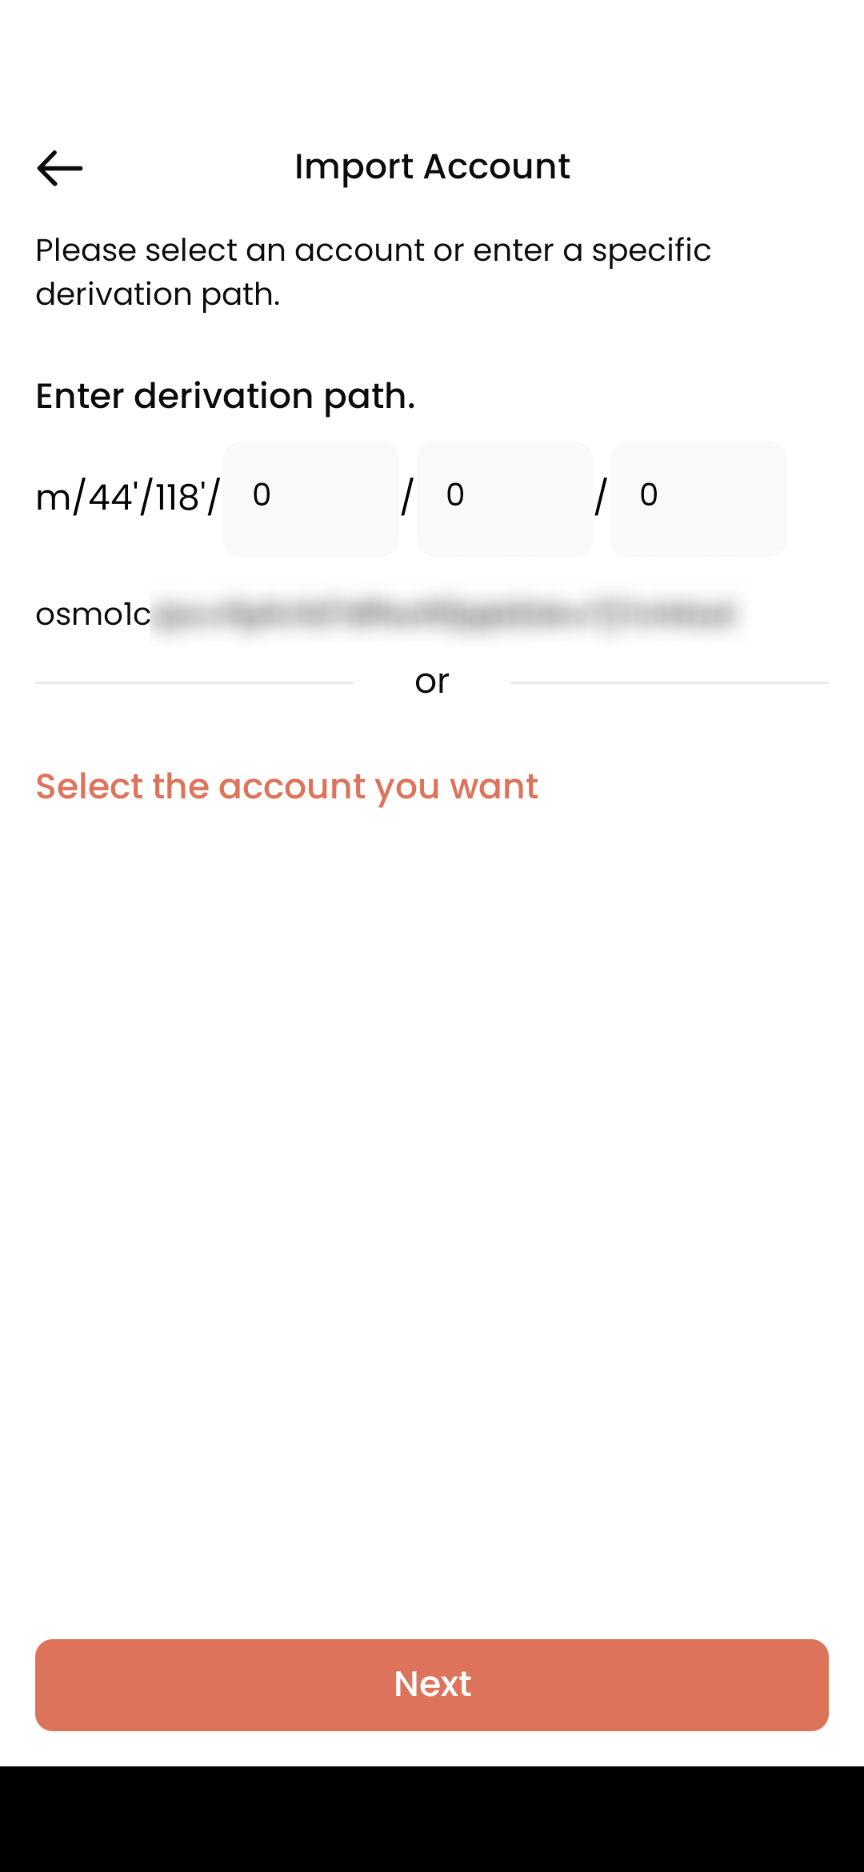
20. Import Account 畫面,假如你有 HD Derivation path 可以在此設定。如不需要,直接點「Next」。
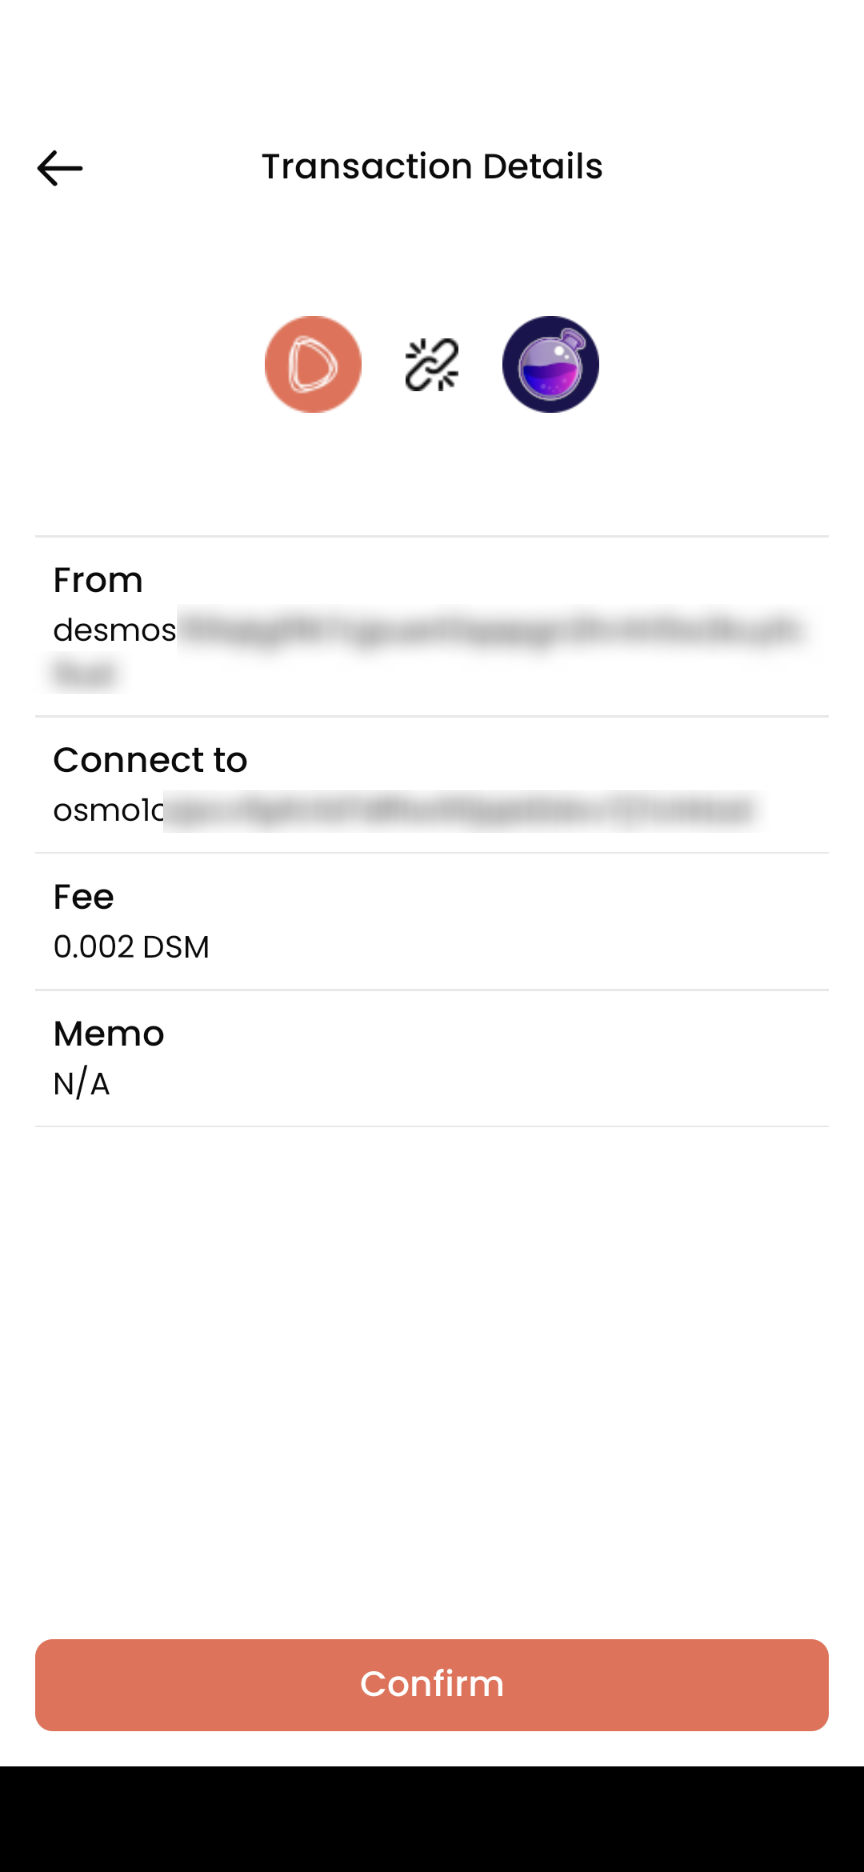
22. 確認我的 Desmos Profile 與 Osmosis 錢包進行連結。點「Confirm」。
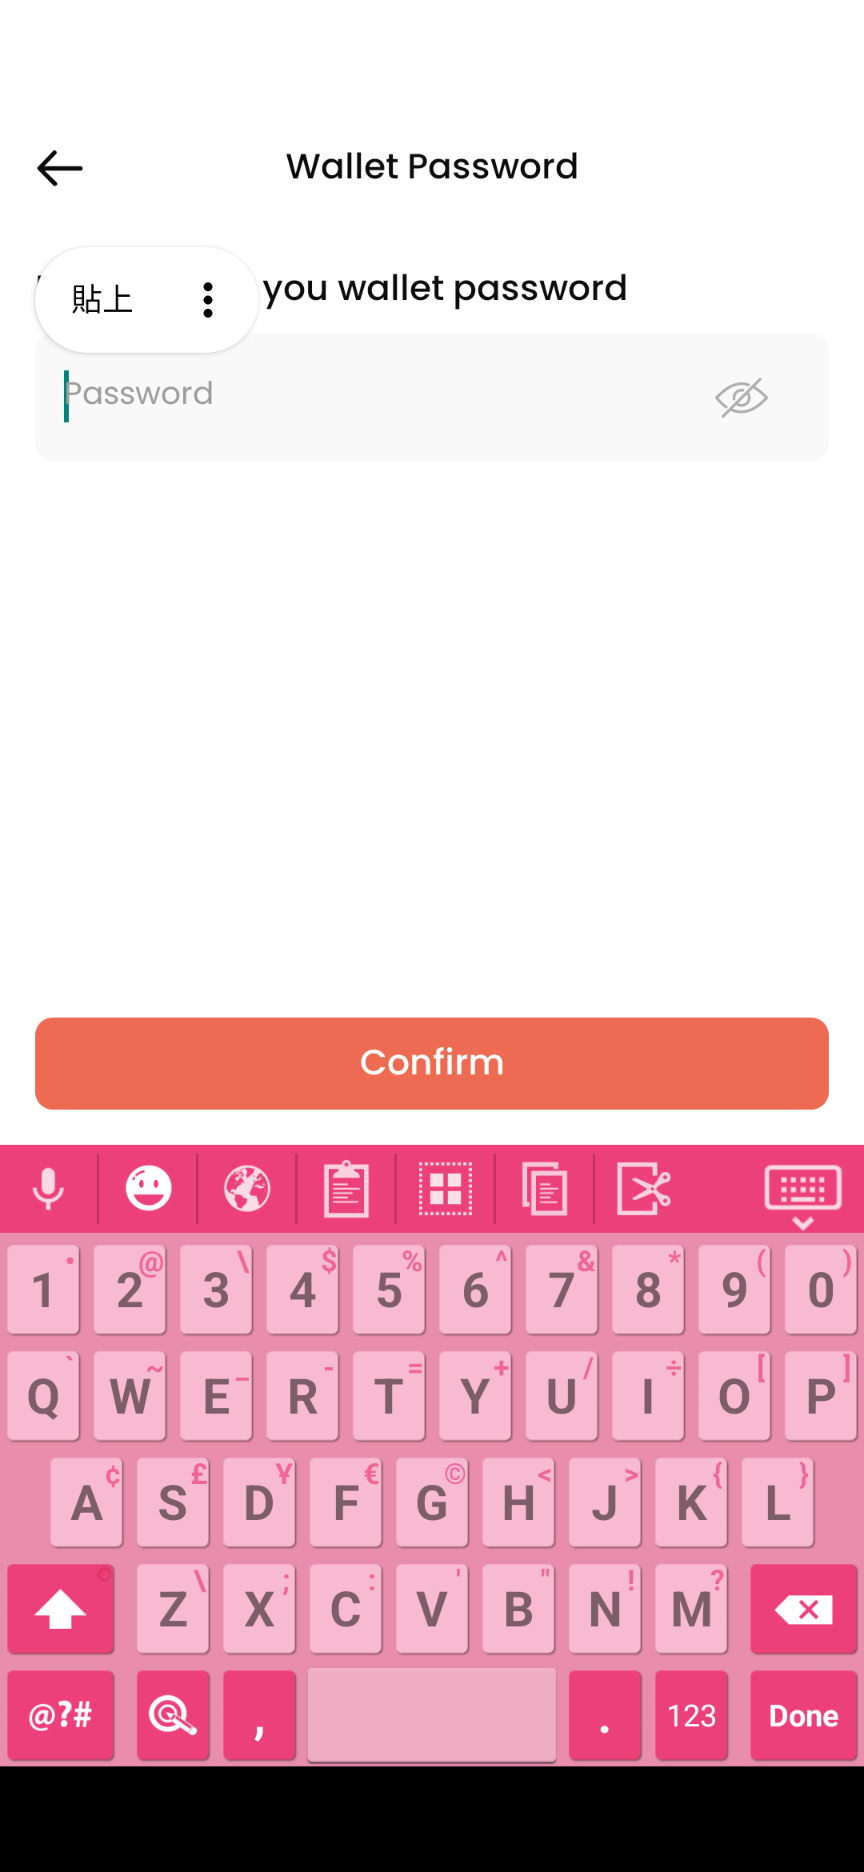
23. 需要輸入 security password 安全密碼,然後點「Confirm」。
24. 系統顯示連結正在進行中。
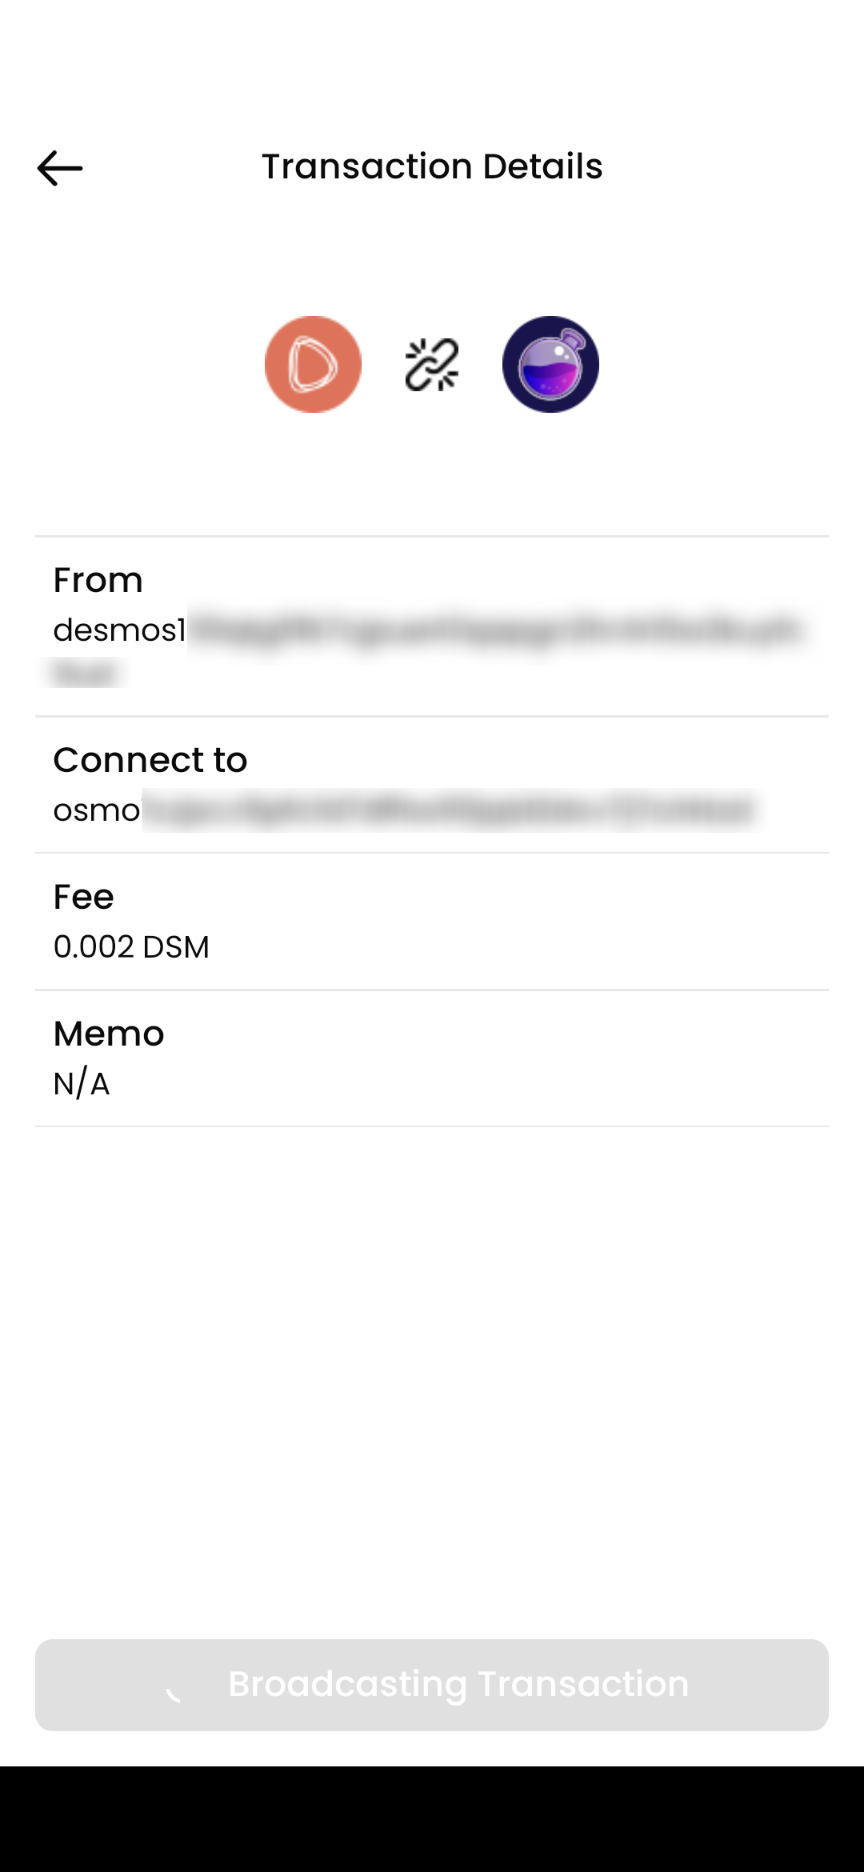
25. 出現 Success 畫面,Desmos 與 Osmosis 成功連結。點「Continue」繼續。
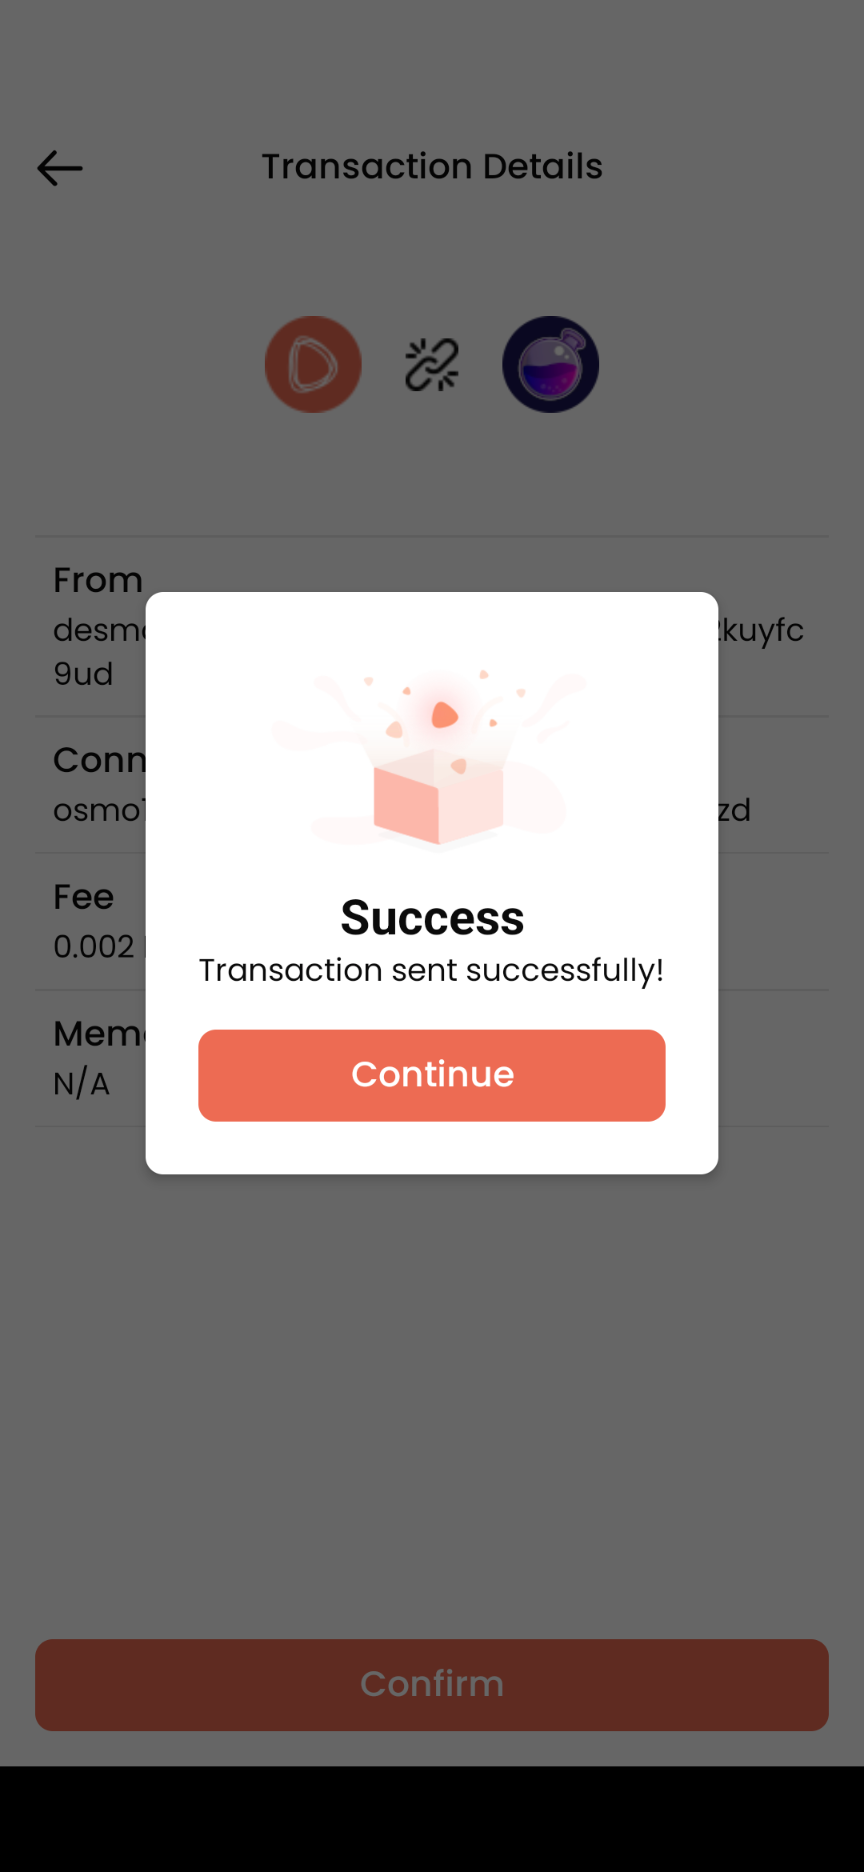
取得空投
26. 出現能獲得的 DSM 數量,點「Claim Now」。
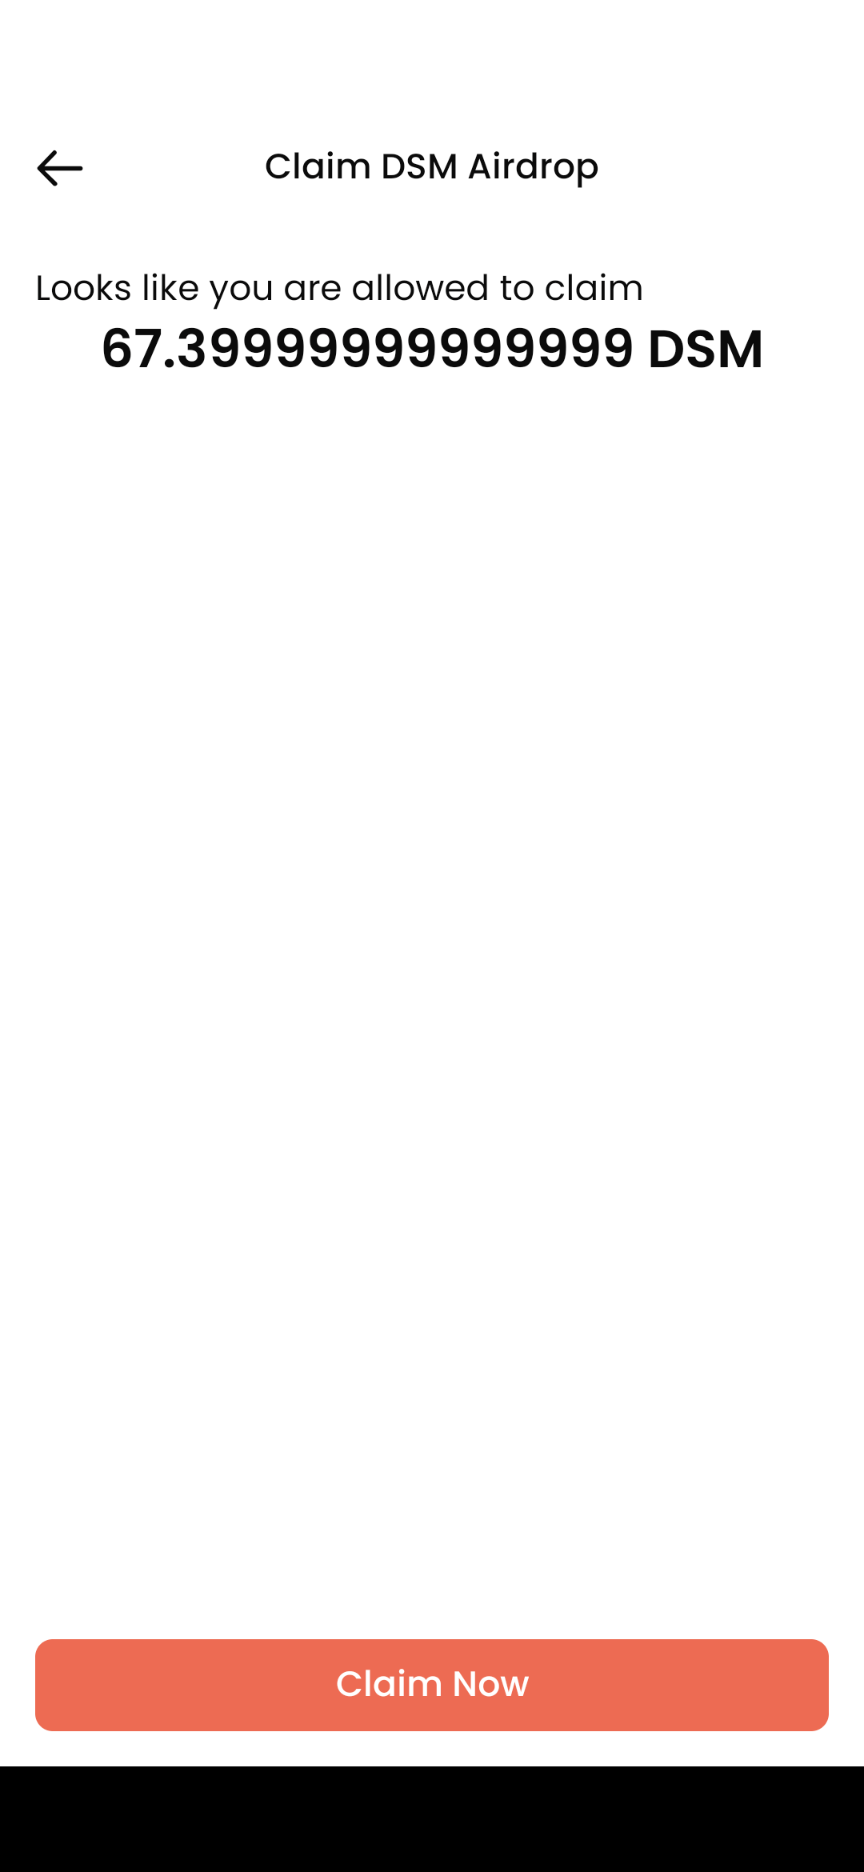
27. Congratulations! 恭喜!空投經已成功領取!
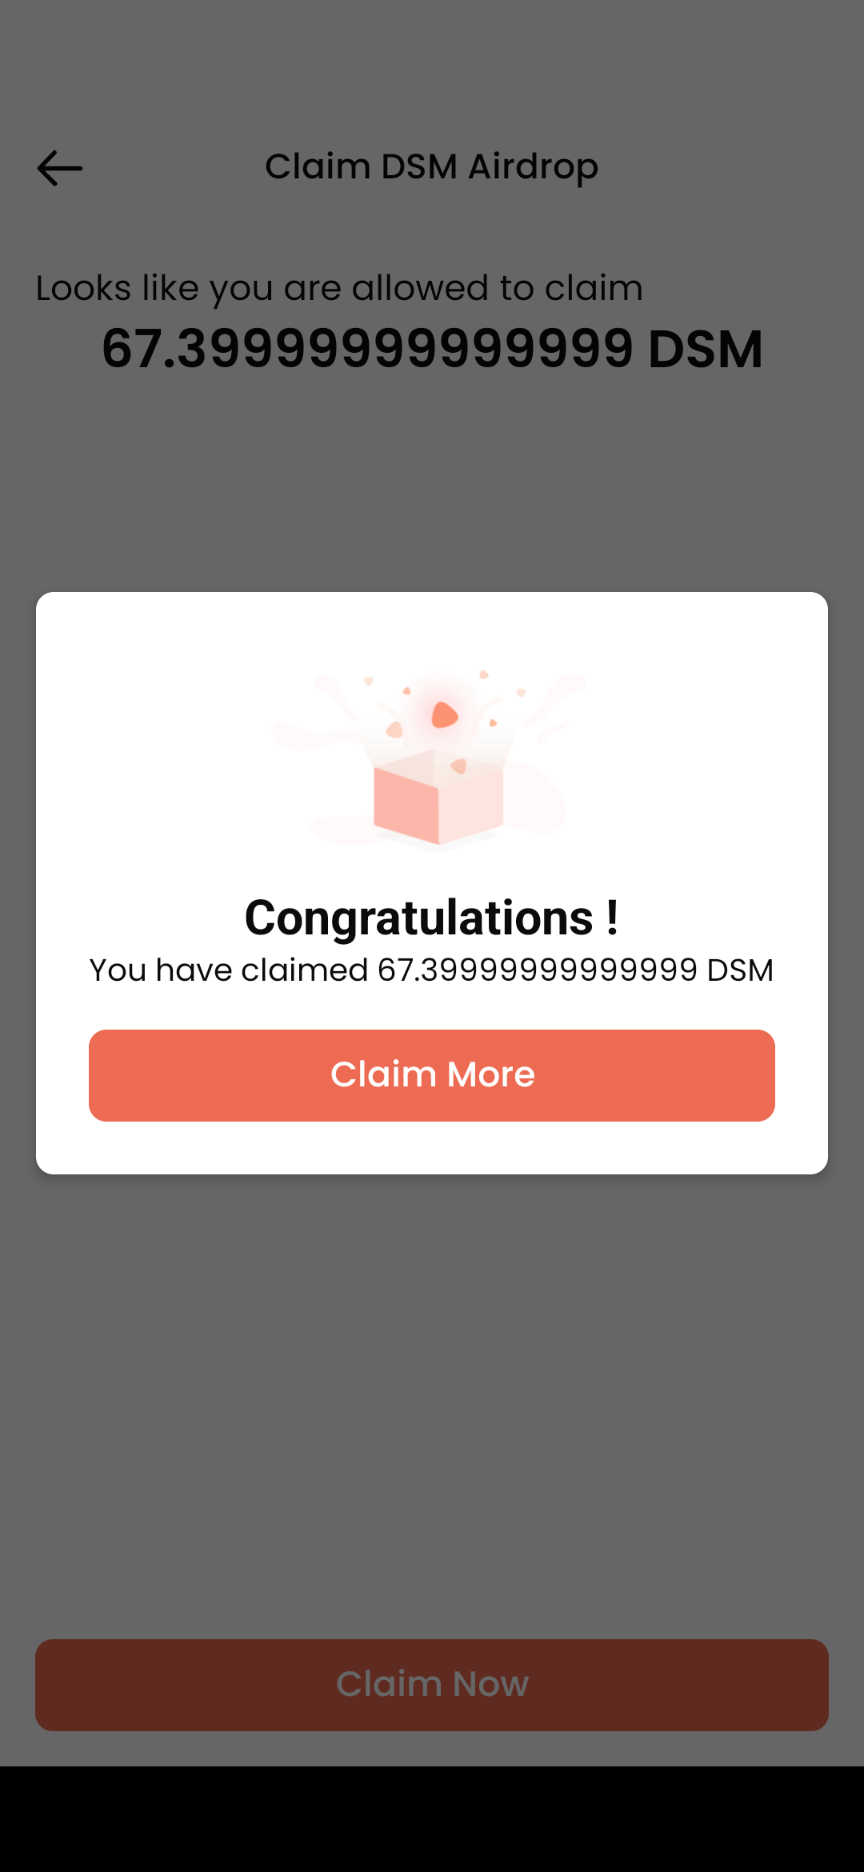
28 . 然後,你會被重新定向到「Claim DSM Airdrop」畫面。如果你出於任何原因在領取過程中離開,你將可以繼續領取待處理的獎勵。
又或者如果你完成所有領取空投步驟但有另一個錢包例如 Liker Land 錢包希望取得空投,可以點「Cliam More」重覆步驟 18 以下的內容。
要收到全部空投,你需要重覆將 Desmos Profile 與那些錢包連結。
29. 回到主頁,你可以查看空投過程中進行的所有交易。
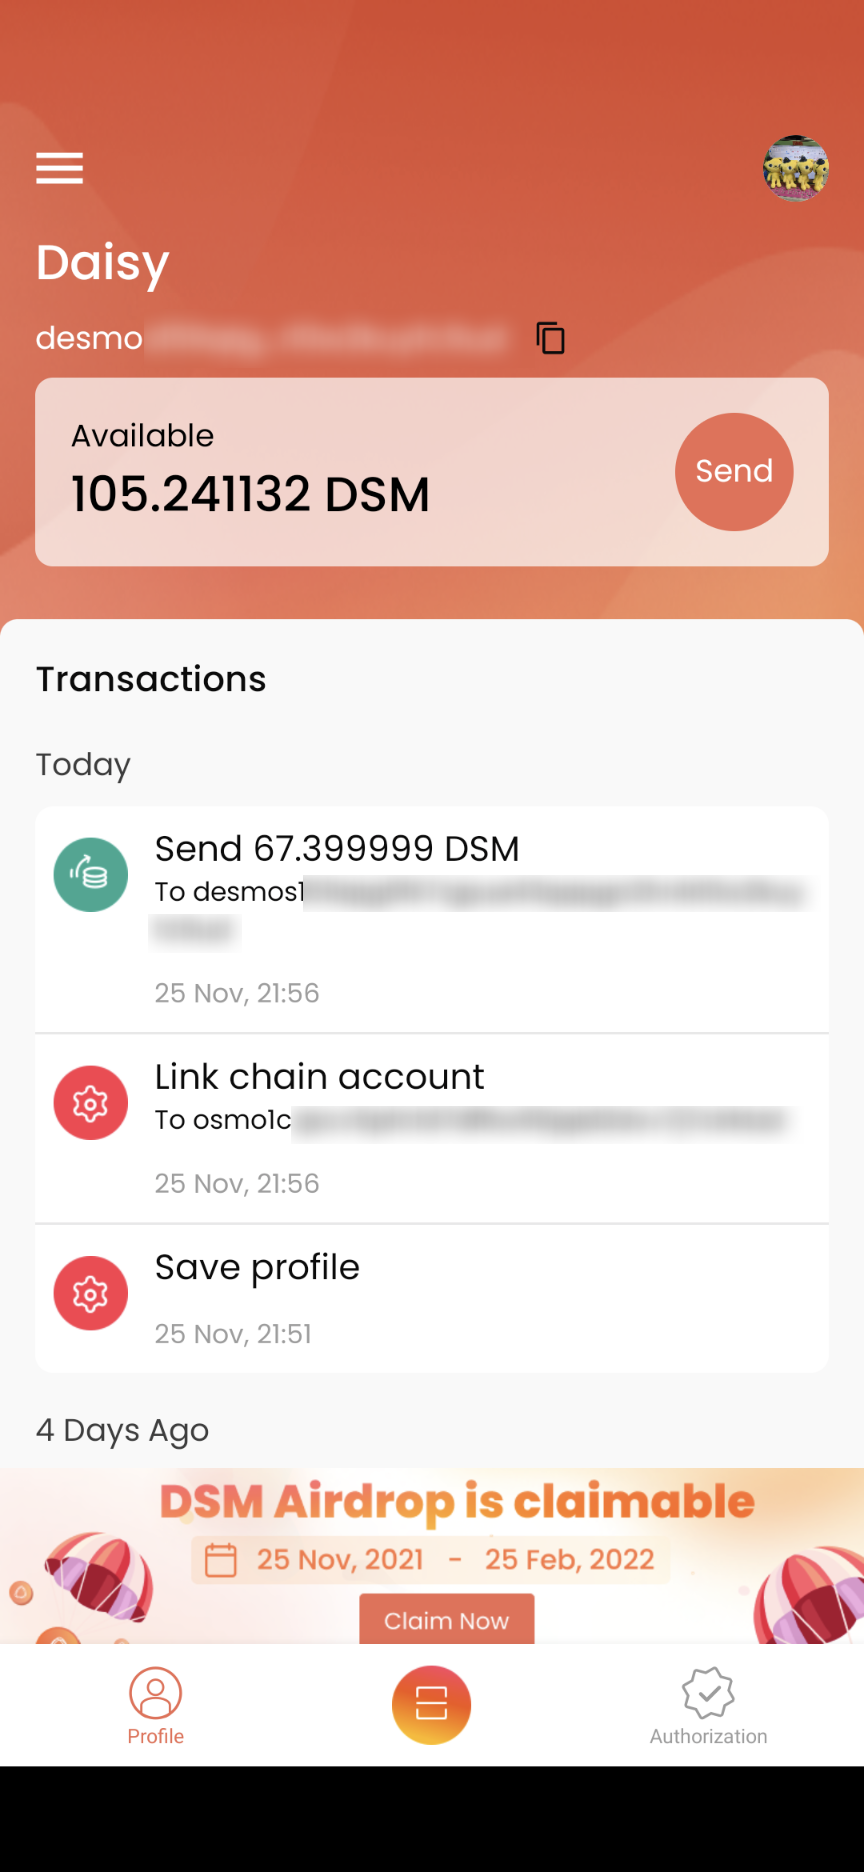
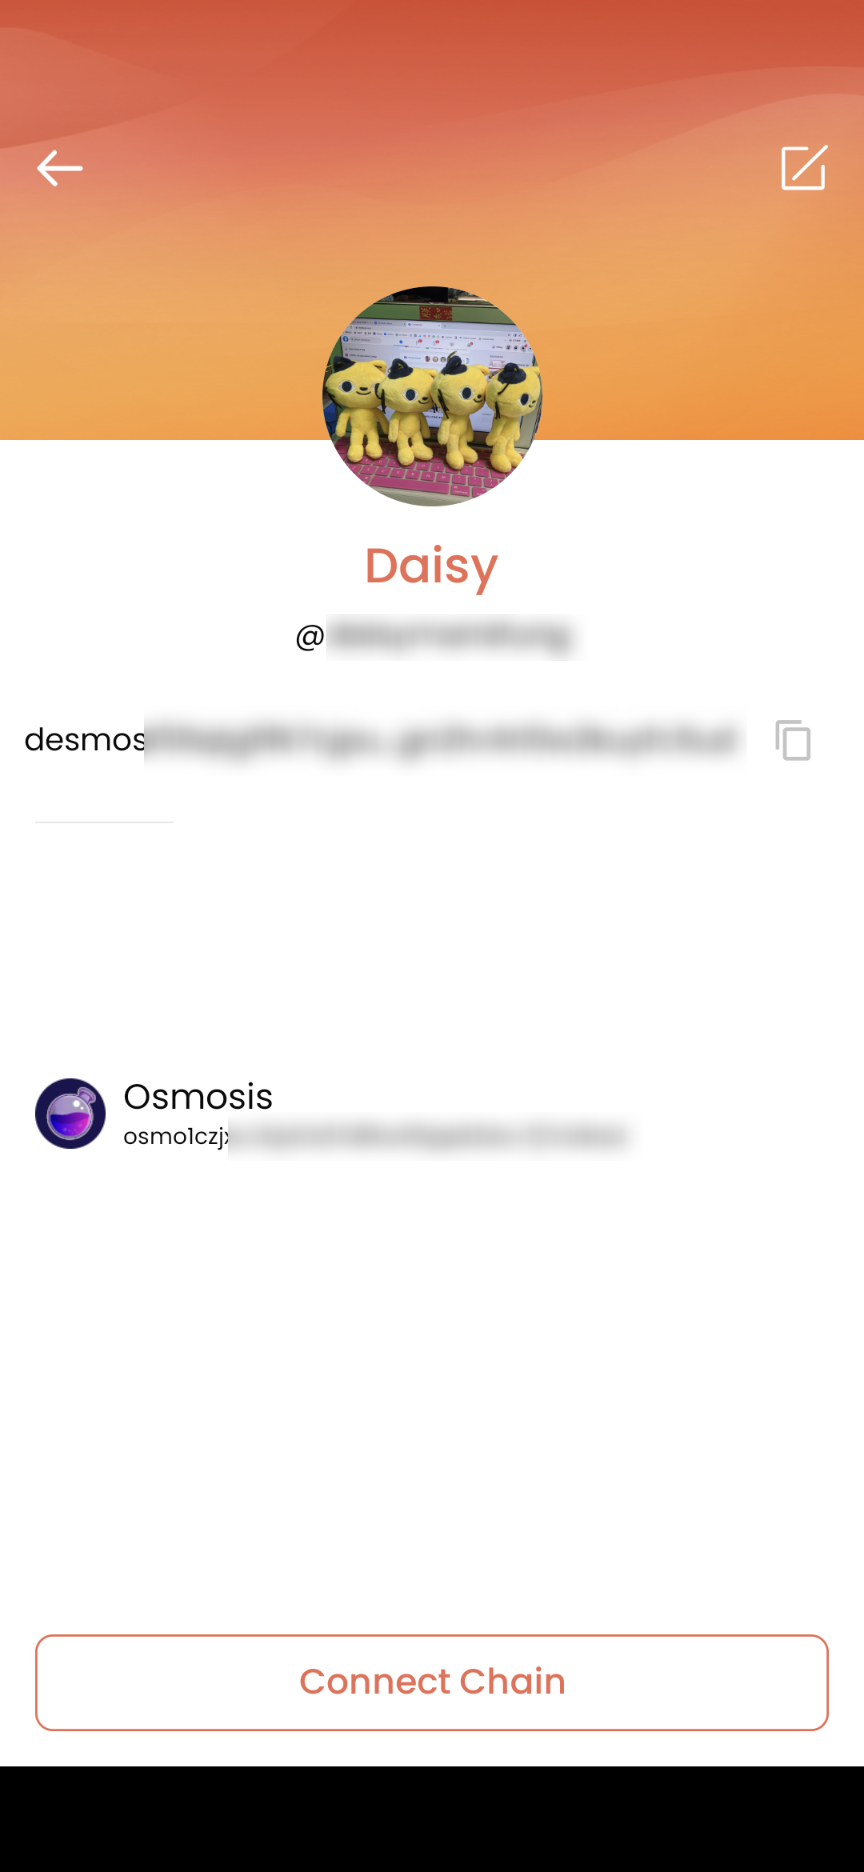
30. 在主頁中點右上角的 Desmos Profile icon,可以看到經已連結的各個區塊鏈網絡錢包地址。
注意
因為 Cosmos SDK 的 bug 會有機會導致 Desmos Network mainnet 出現以下錯誤,歡迎在 Discord 向他們匯報。
Broadcasting transaction failed with code 111222 (codespace: undefined). Log: panic message redacted to hide potentially sensitive system info: panic
如何領取空投:Go-find.me 版本
此外,了解大家可能對在 DPM 輸入其他區塊鏈例如 Osmosis 的私鑰有所擔心,但他們團隊保證私鑰不會存於 DPM 內,並且只會於這次空投中使用。
如果你對 DPM 有疑問的話,亦可使用 Go-find.me 所創建的 Desmos Profile 去領空投。但 Go-find.me 不支持 Cosmos v0.44 features,你需要 DSM 去創建 Desmos Profile 而且不會由他們團隊吸收這部份的費用直至將程式改好為止。所以現時如果你沒有 DSM 的話可以到 Desmos Network Discord 的 #💰-airdrop-ask-dsm 頻道要求別人送一些給你,又或者等到他們團隊處理好新的流程再為你吸收費用才領空投這樣。
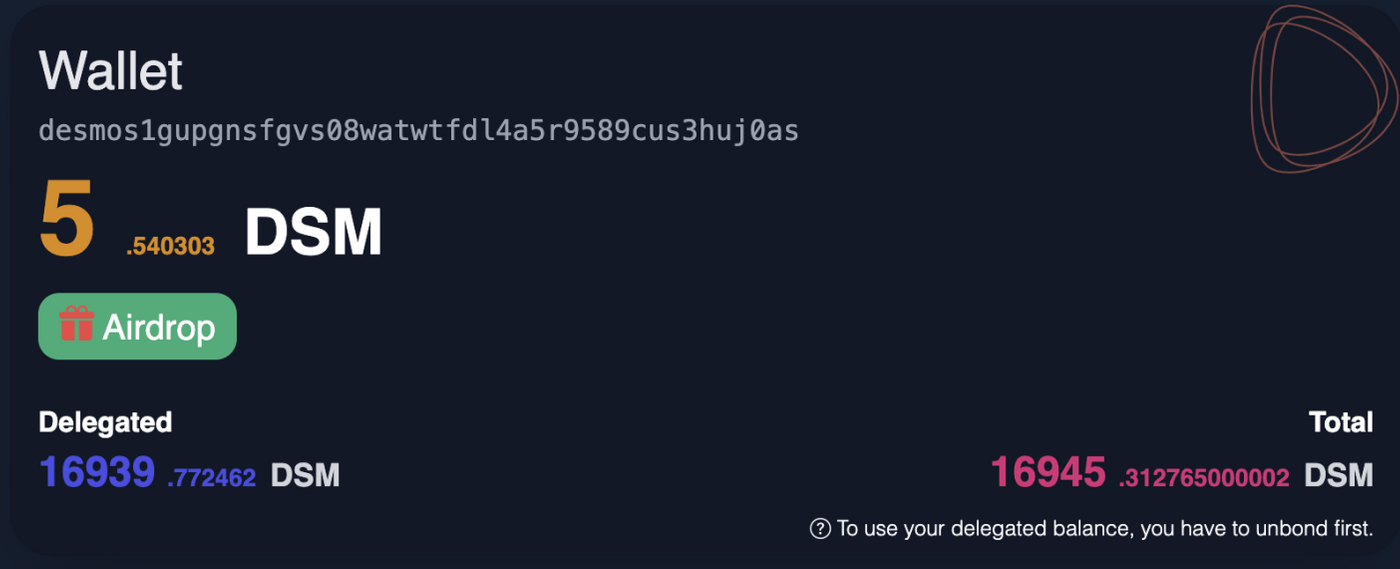
同場加映:非空投時如何創建 Desmos Profile?(需要出付 DSM)
現時,你可以通過三種方式在 Desmos 區塊鏈上創建你的 profile
1. CLI
使用驗證人 Catboss 製作的網站進行設定並使用 CLI 指令 desmos tx profiles save 即可。驗證人或技術控會懂,故不贅。
2. Forbole X
創建錢包後(詳細內容請看 Desmos Network | Forbole X 錢包詳解),點「Create Profile」。
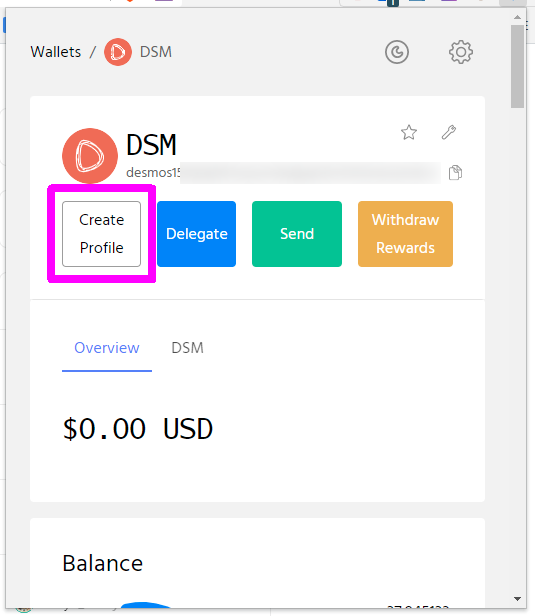
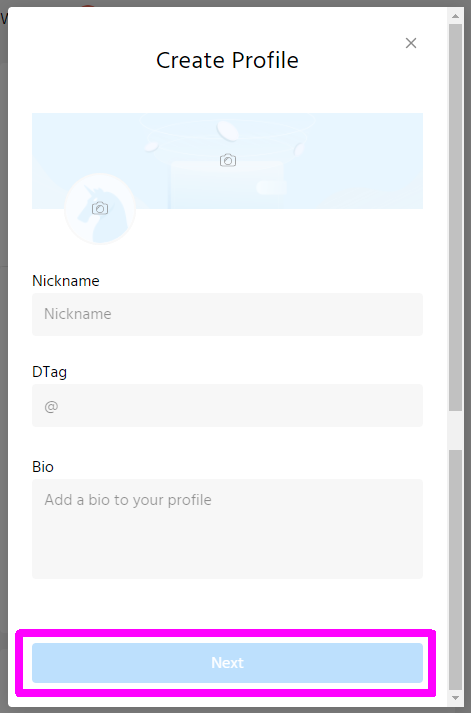
上載頭像、Cover Photo、輸入 Nickname 用戶綽號、DTag 即 Desmos 上的代號、Bio 個人簡介後再點「Next」。
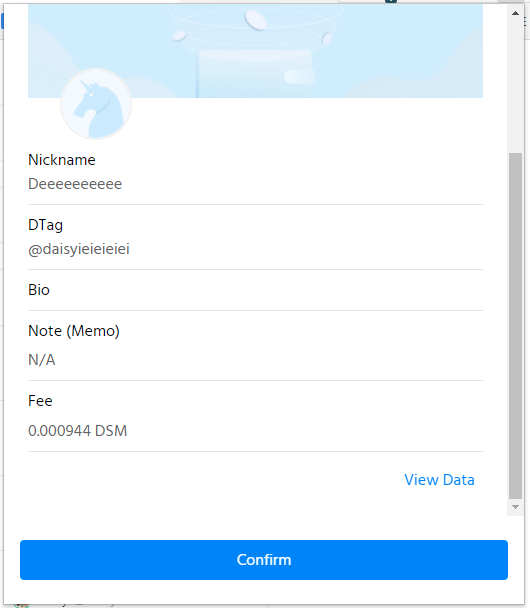
出現確認畫面,點「Confirm」然後簽署交易完成創建。
3. Go-find.me(配合 Keplr使用)
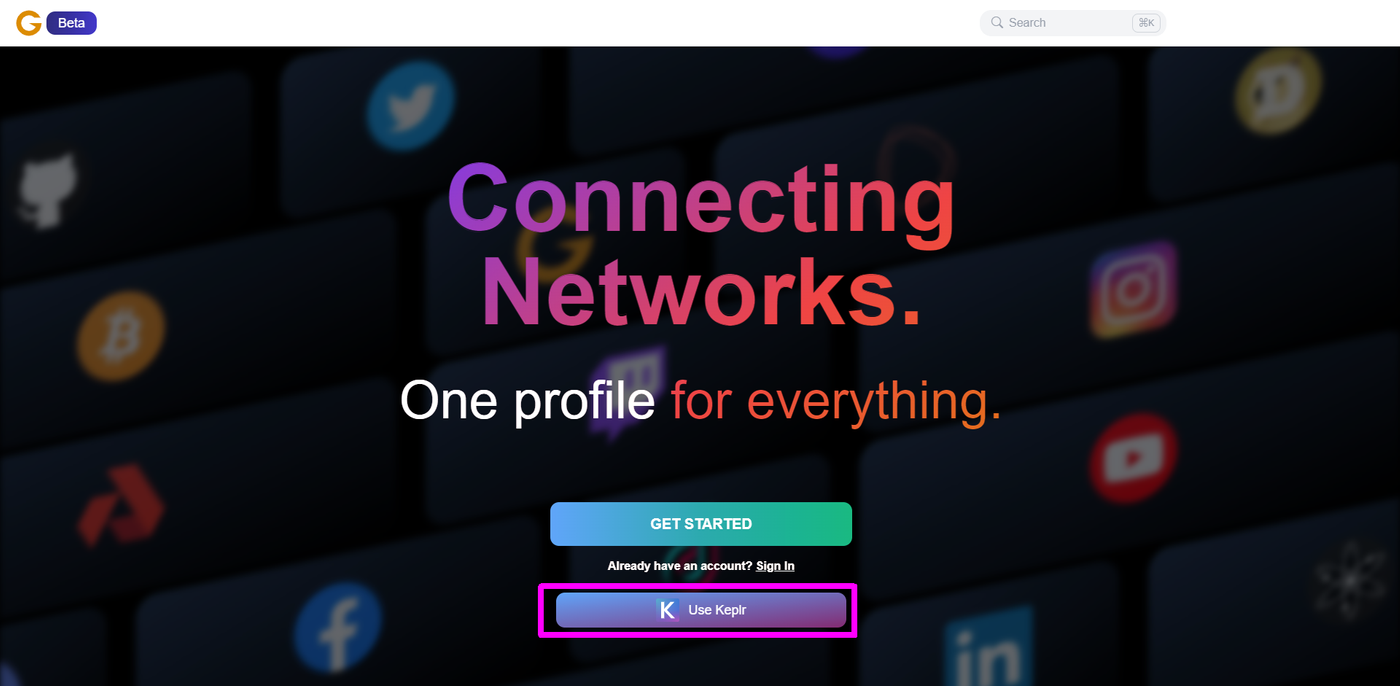
先登入 Keplr,然後到 Go-find.me 網站,點「Use Keplr」。
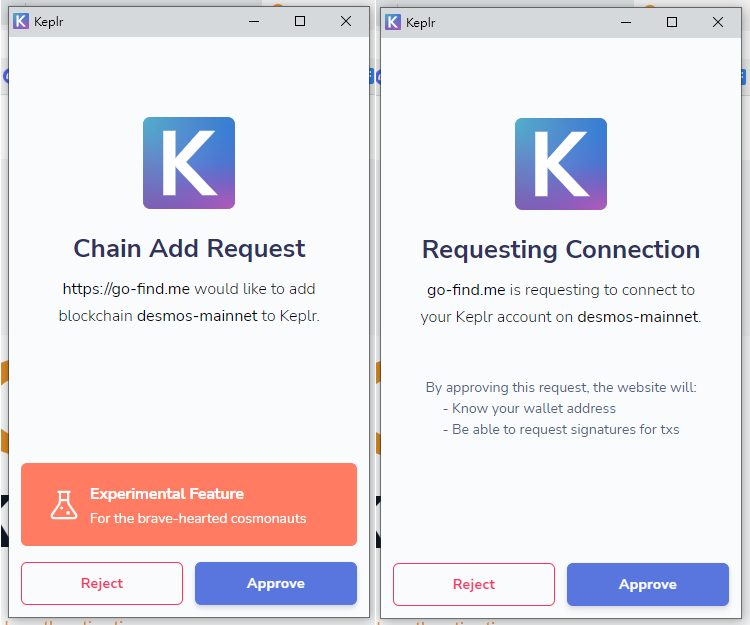
Keplr 出現 Chain Add Request 及 Requesting Connection 視窗,點「Approve」就可以了。
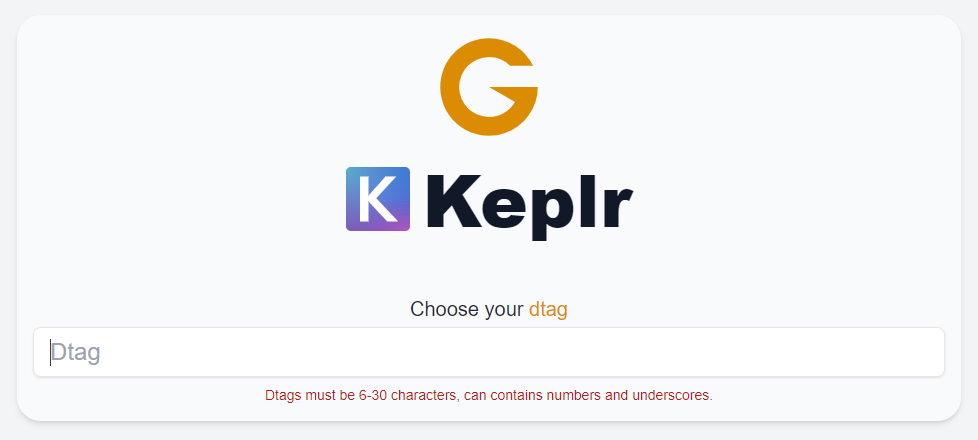
出現此畫面要求輸入 6-30 字的 DTag 即 Desmos 上的代號。輸入完成後然後點「Continue」。
進入輸入資料畫面左上角會有一堆紅色提示。由於 Desmos Network 升級了,你需要重新加添網絡。

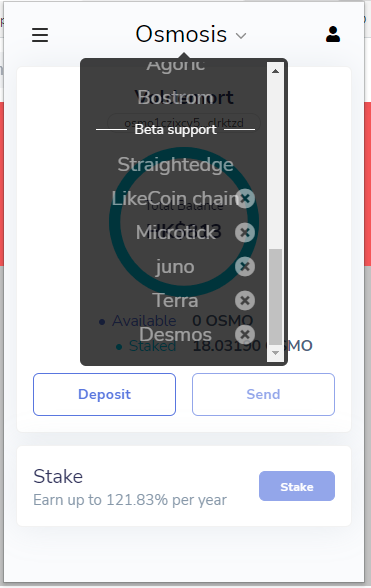
在 Keplr 網絡的下拉菜單找 Desmos,點右手邊的交叉關掉它。
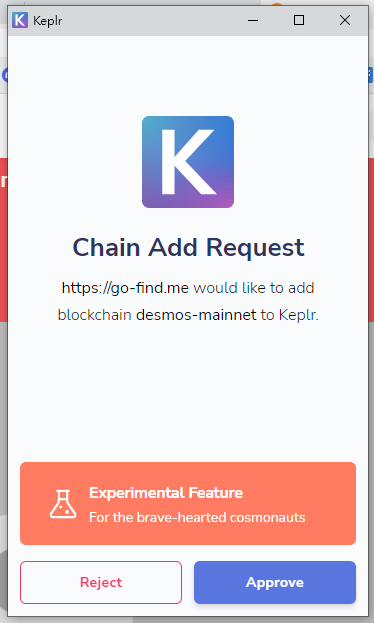
接著在 Go-fine.me 網站按鍵盤 F5,彈出視窗要求你重新 Chain Add Request,點「Approve」。
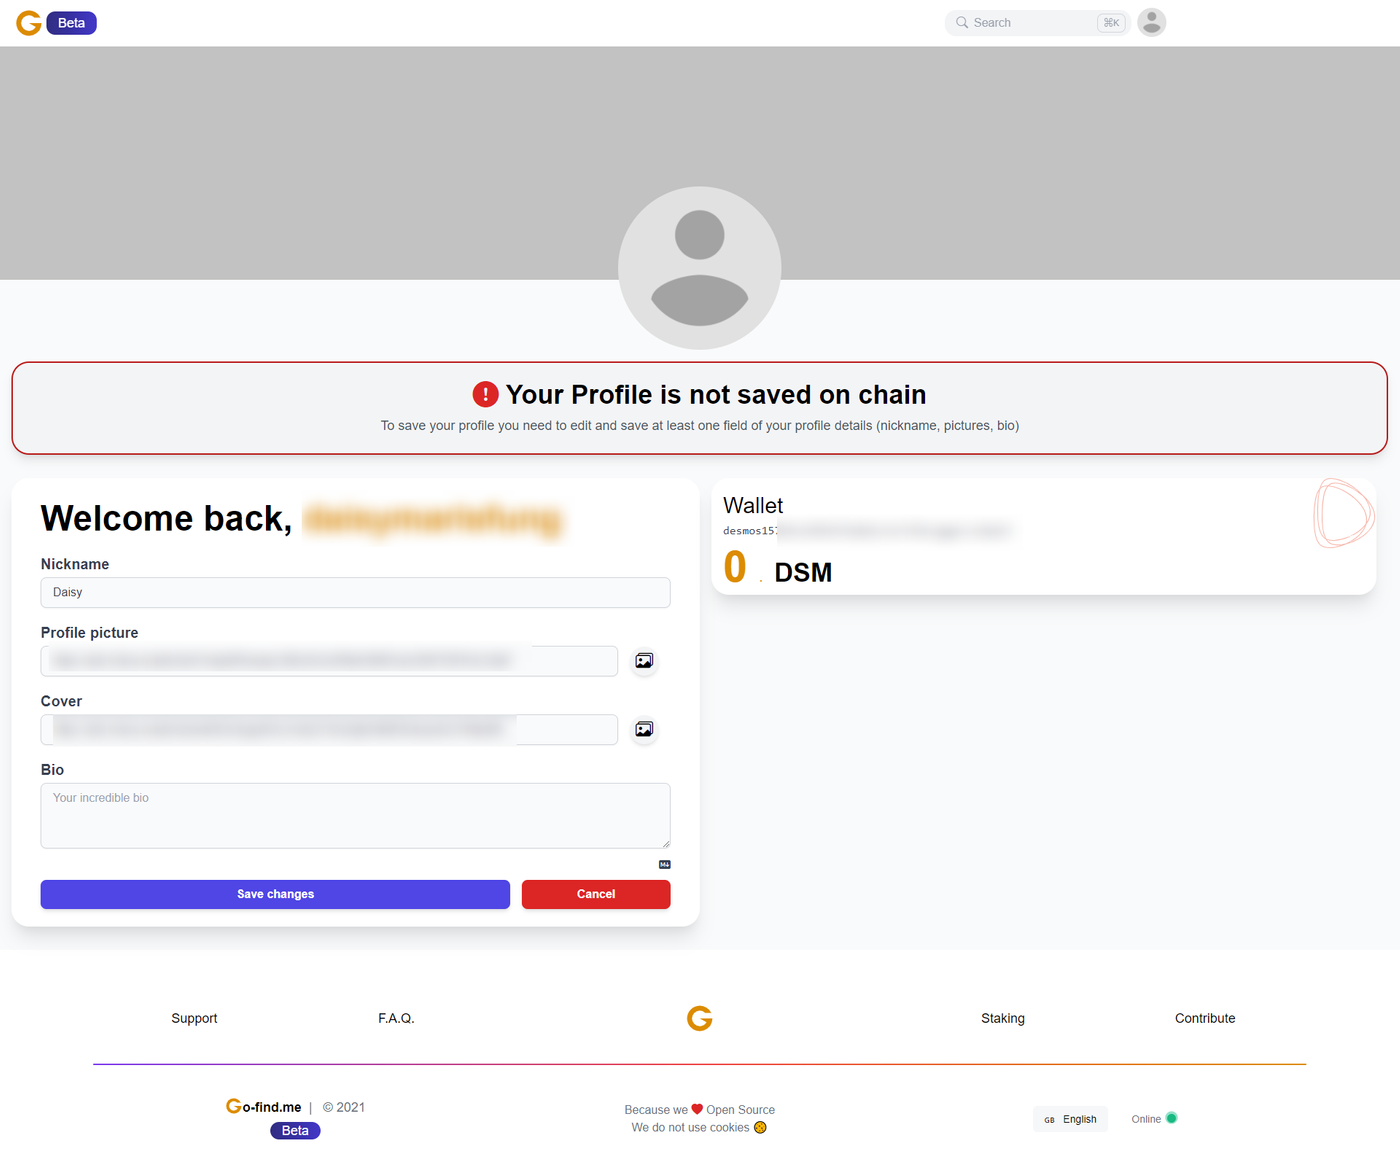
接著在這個頁面,上載 Profile picture 頭像、Cover Photo、輸入 Nickname 用戶綽號、Bio 個人簡介後再點「Save Changes」。Desmos Profile 成功創建。
現時創建 Desmos Profile 大概需要 0.000944 DSM。
